
CUSTOM COUTURE
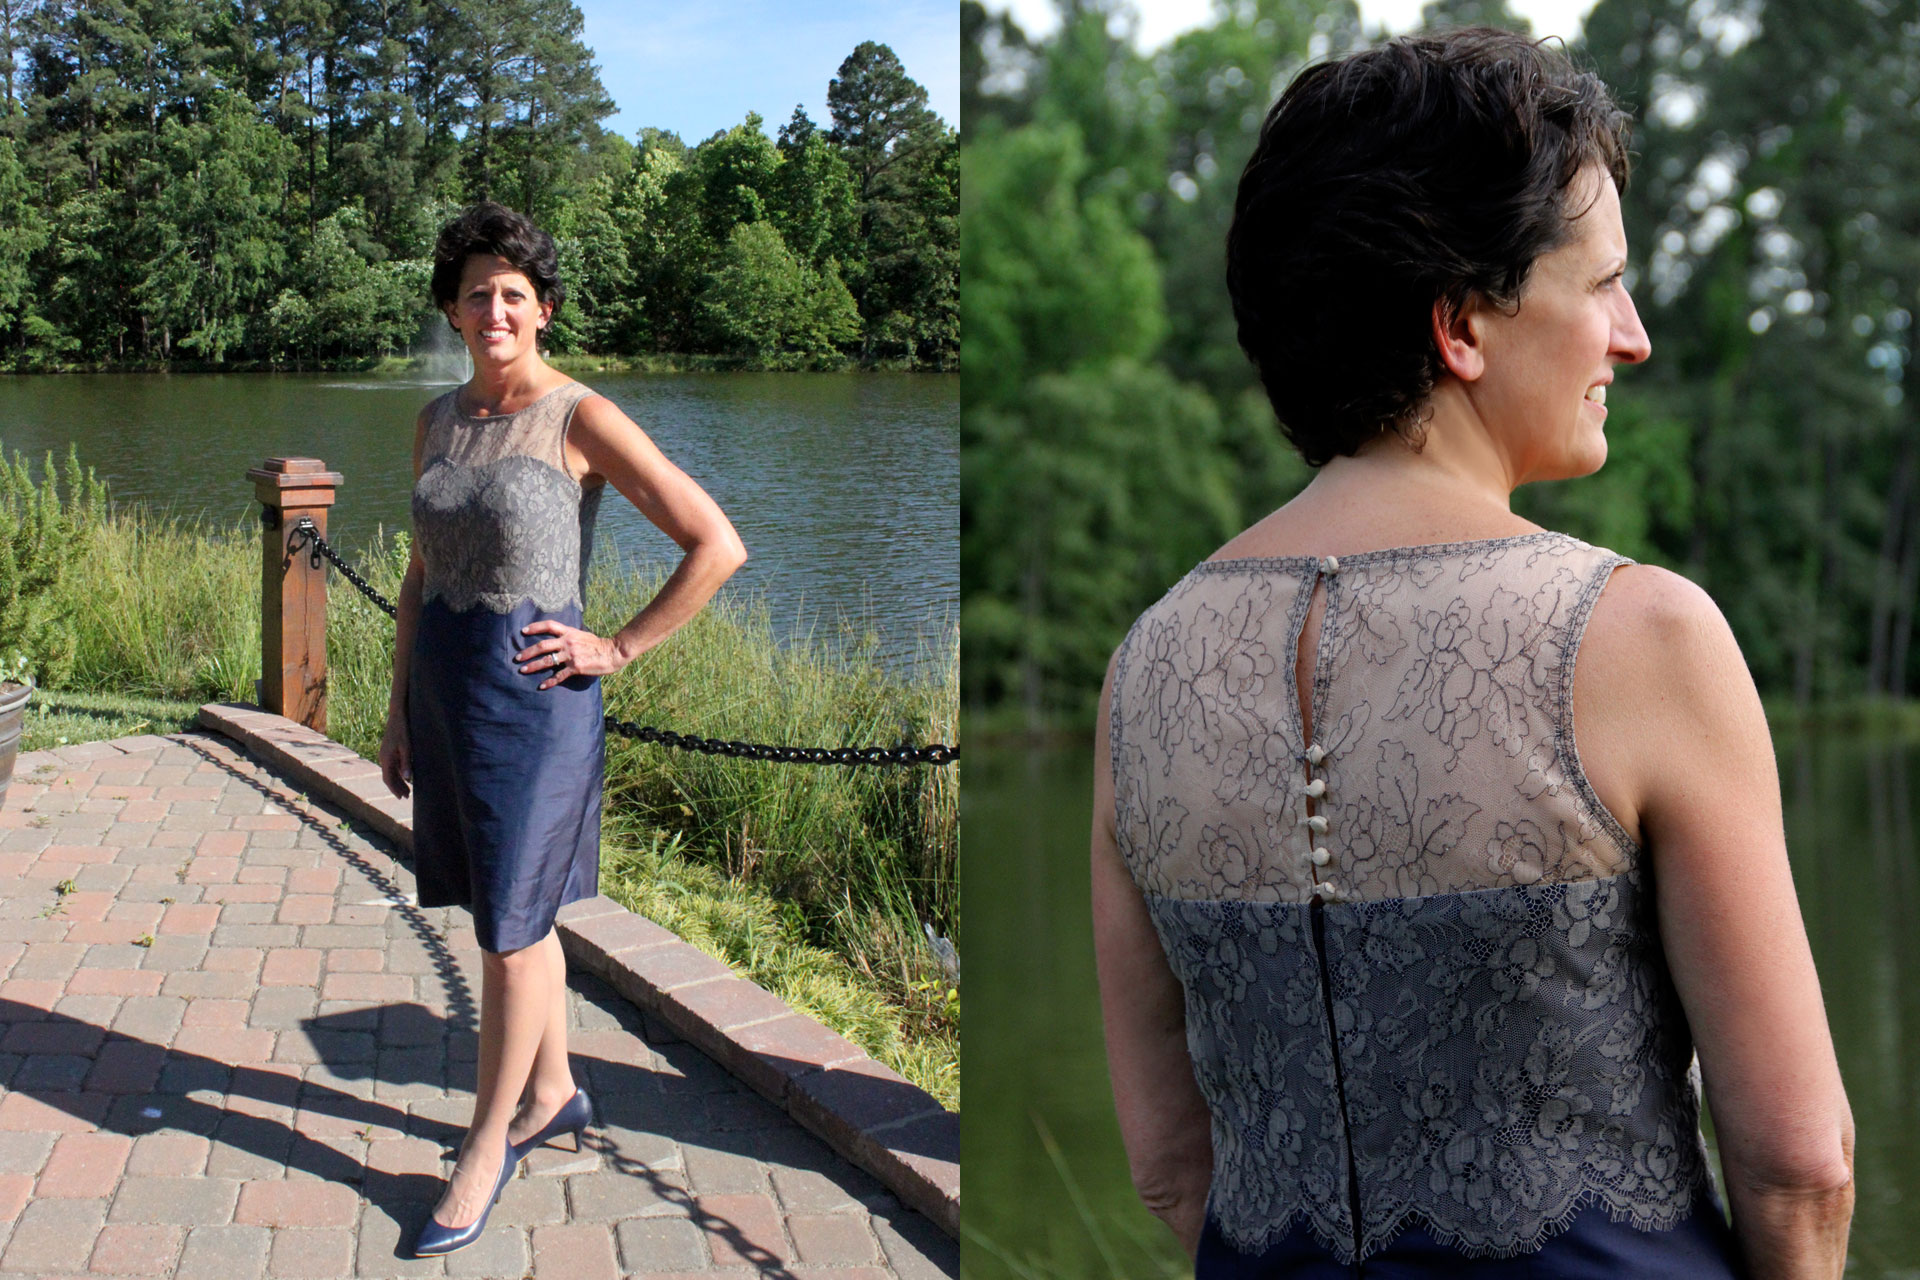
Mother of the groom dress in hand-pieced lace
Intricate details paired with clean style lines form a striking blend of elegance and modernity
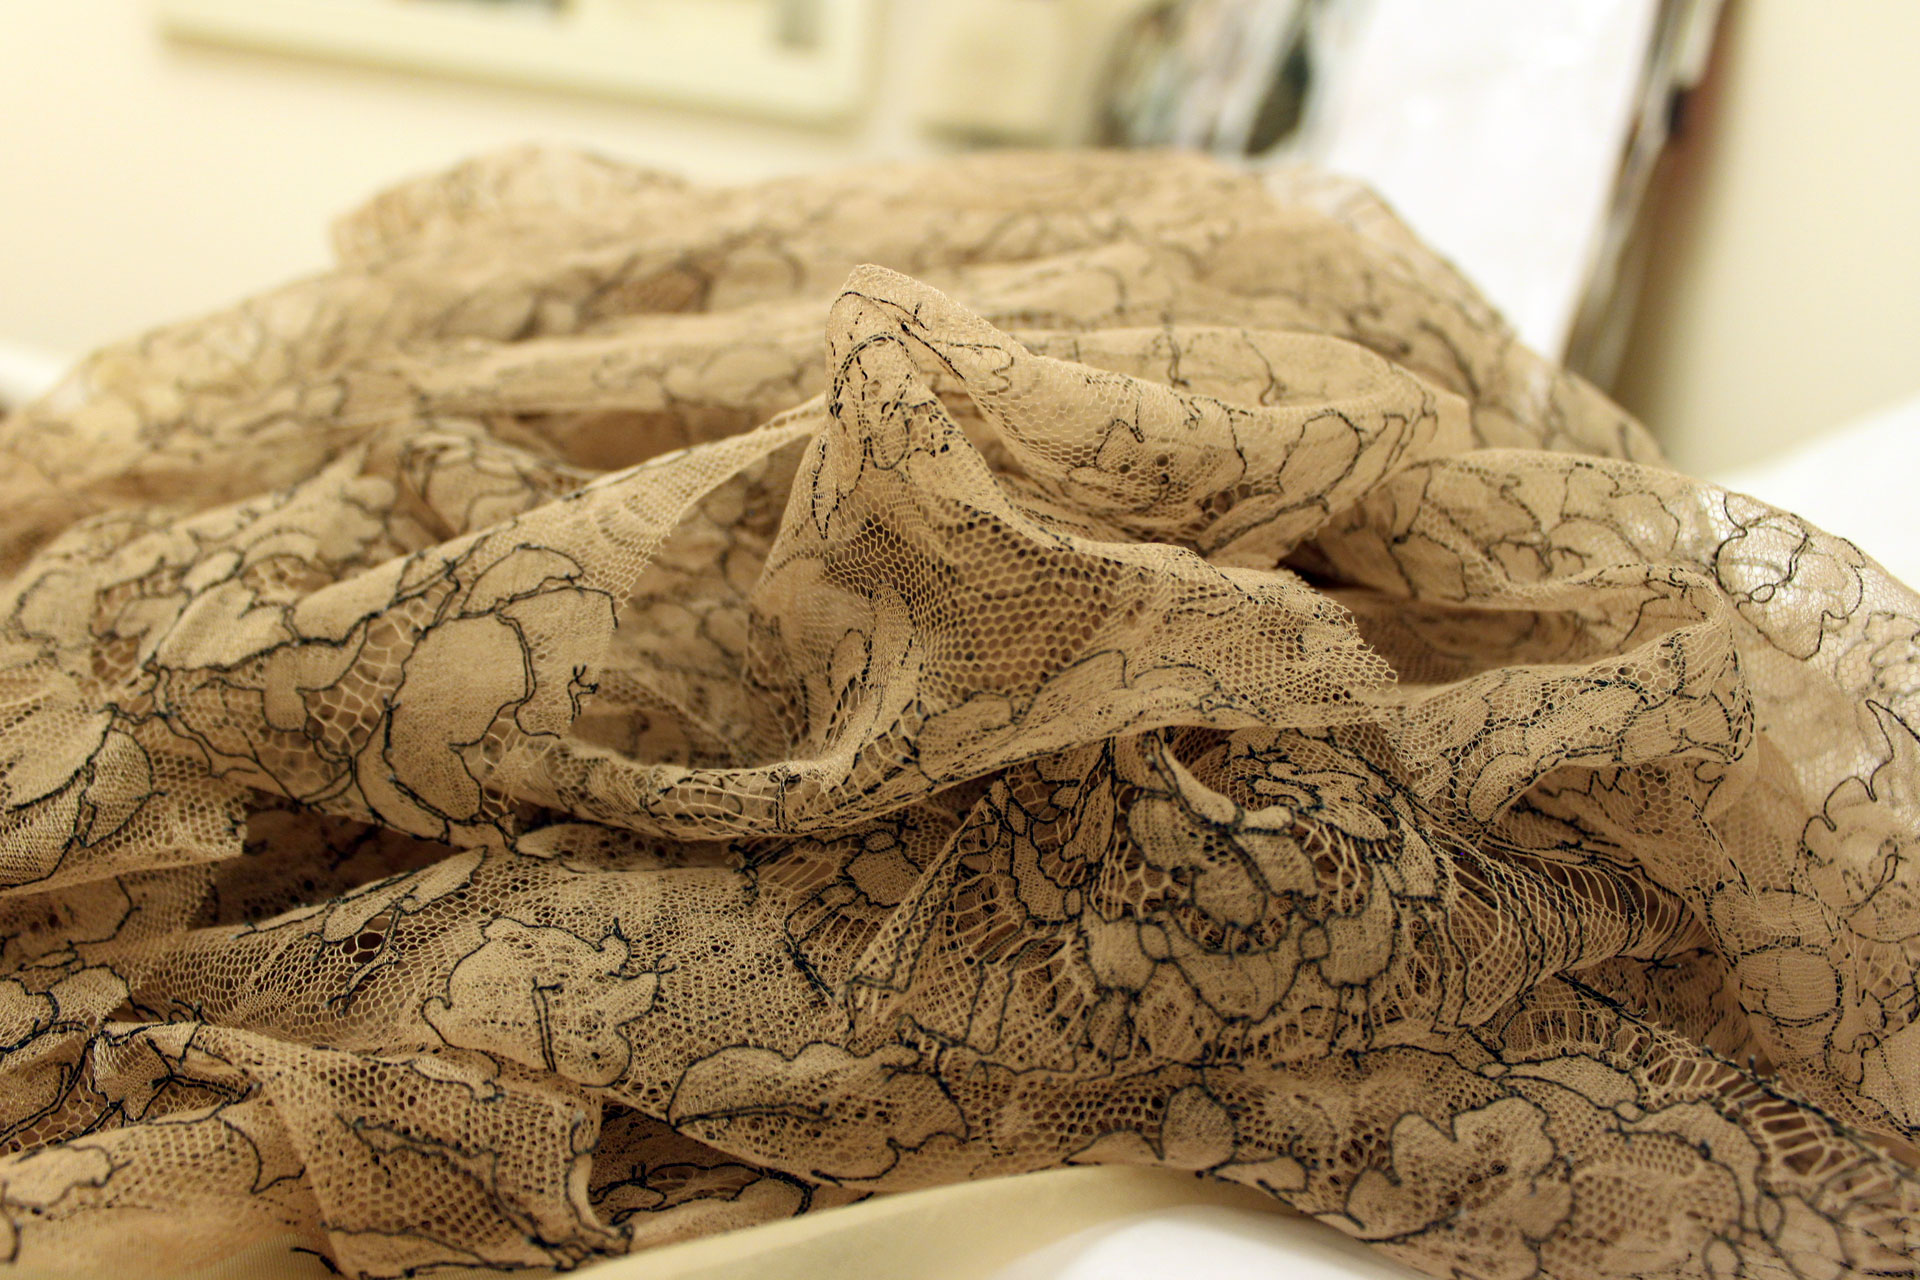
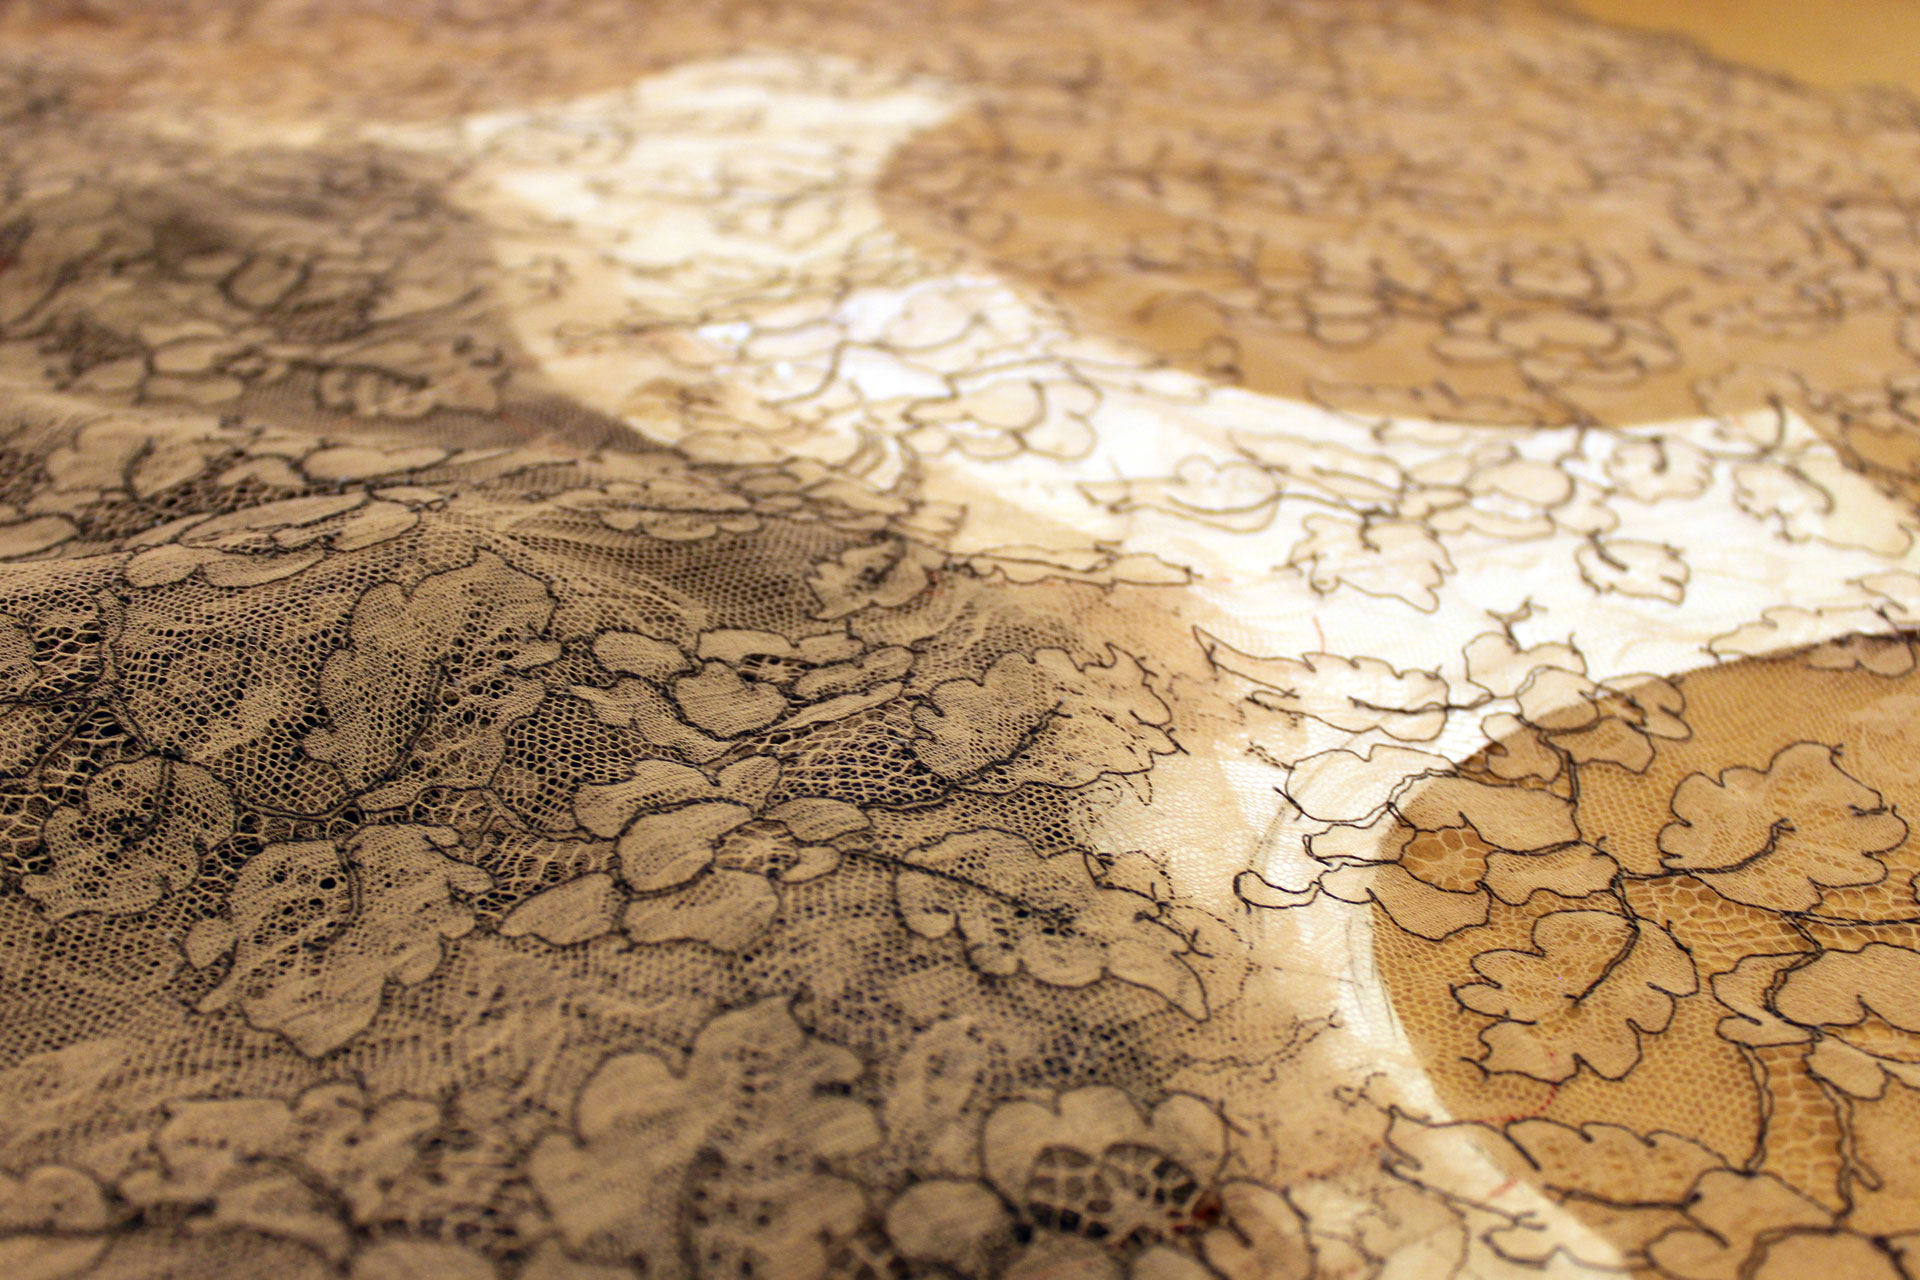
Strength and beauty were the underlying influences on the design of Carol's dress. French Chantilly lace in ecru overlayed with navy silk shantung formed the chic color palette. Made on century-old leaver's looms in Calais, France, the lace was print engineered to match at every seam. Decorative details complemented the fluid lines of the bodice and the simple silhouette for a sophisticated result.

Couture structure
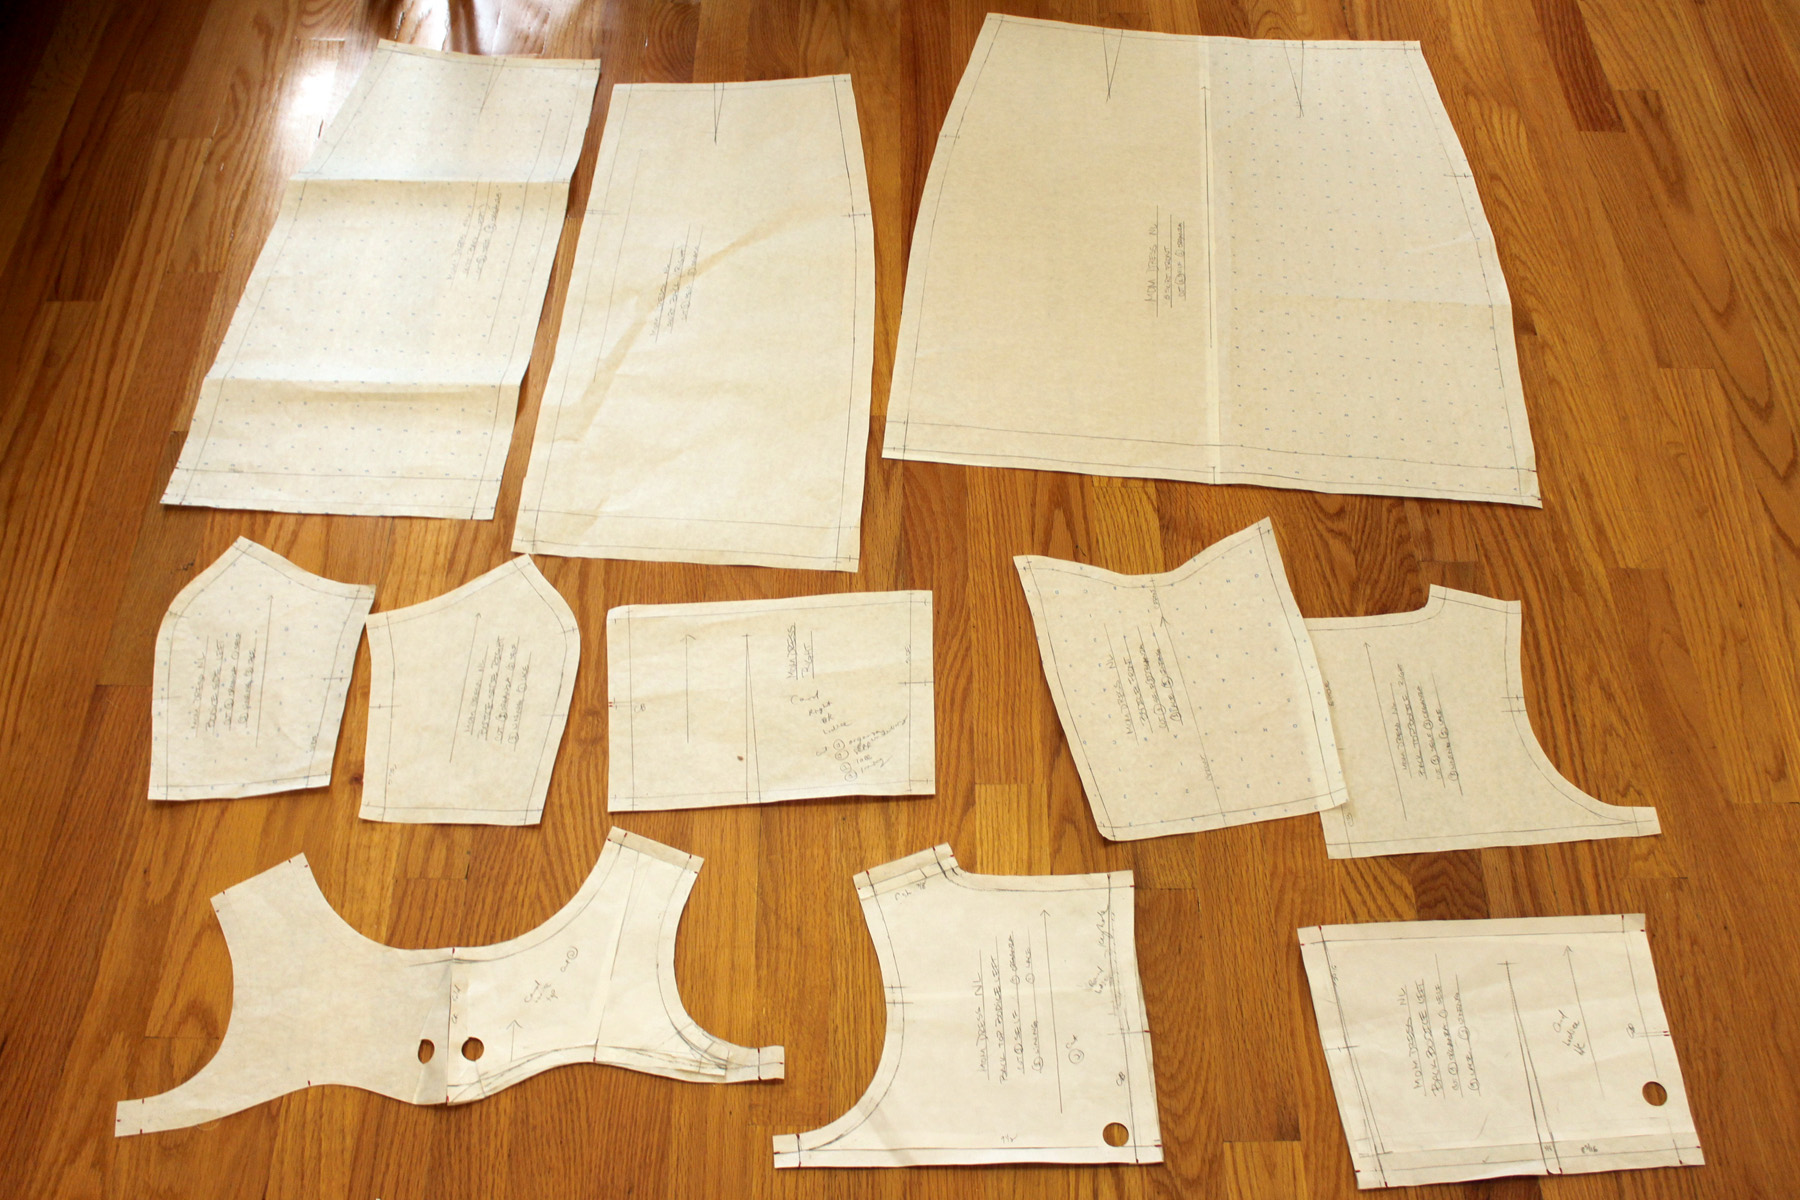
Carol's dress began like any other custom couture project, with inspiration gathering, concepting, and careful material selection. Then the pattern was created and iteratively adjusted based on a series of cotton muslin prototype fittings. Once the general fit and style lines were more or less finalized, the pattern was ready for cutting in the actual fabric.
Extra seam allowance is always used in couture garments to accommodate for variations in actual fabric vs. muslin, and to allow for clean and secure garment finishing. A couture garment consists of many layers of fabric sewn together, to provide: support to delicate outer layers like lace, underlinings for marking sewing lines and securing stitches invisibly, built-in structure to maintain the shape of the garment and comfort of the wearer, and casings for boning, horsehair, or other construction materials.
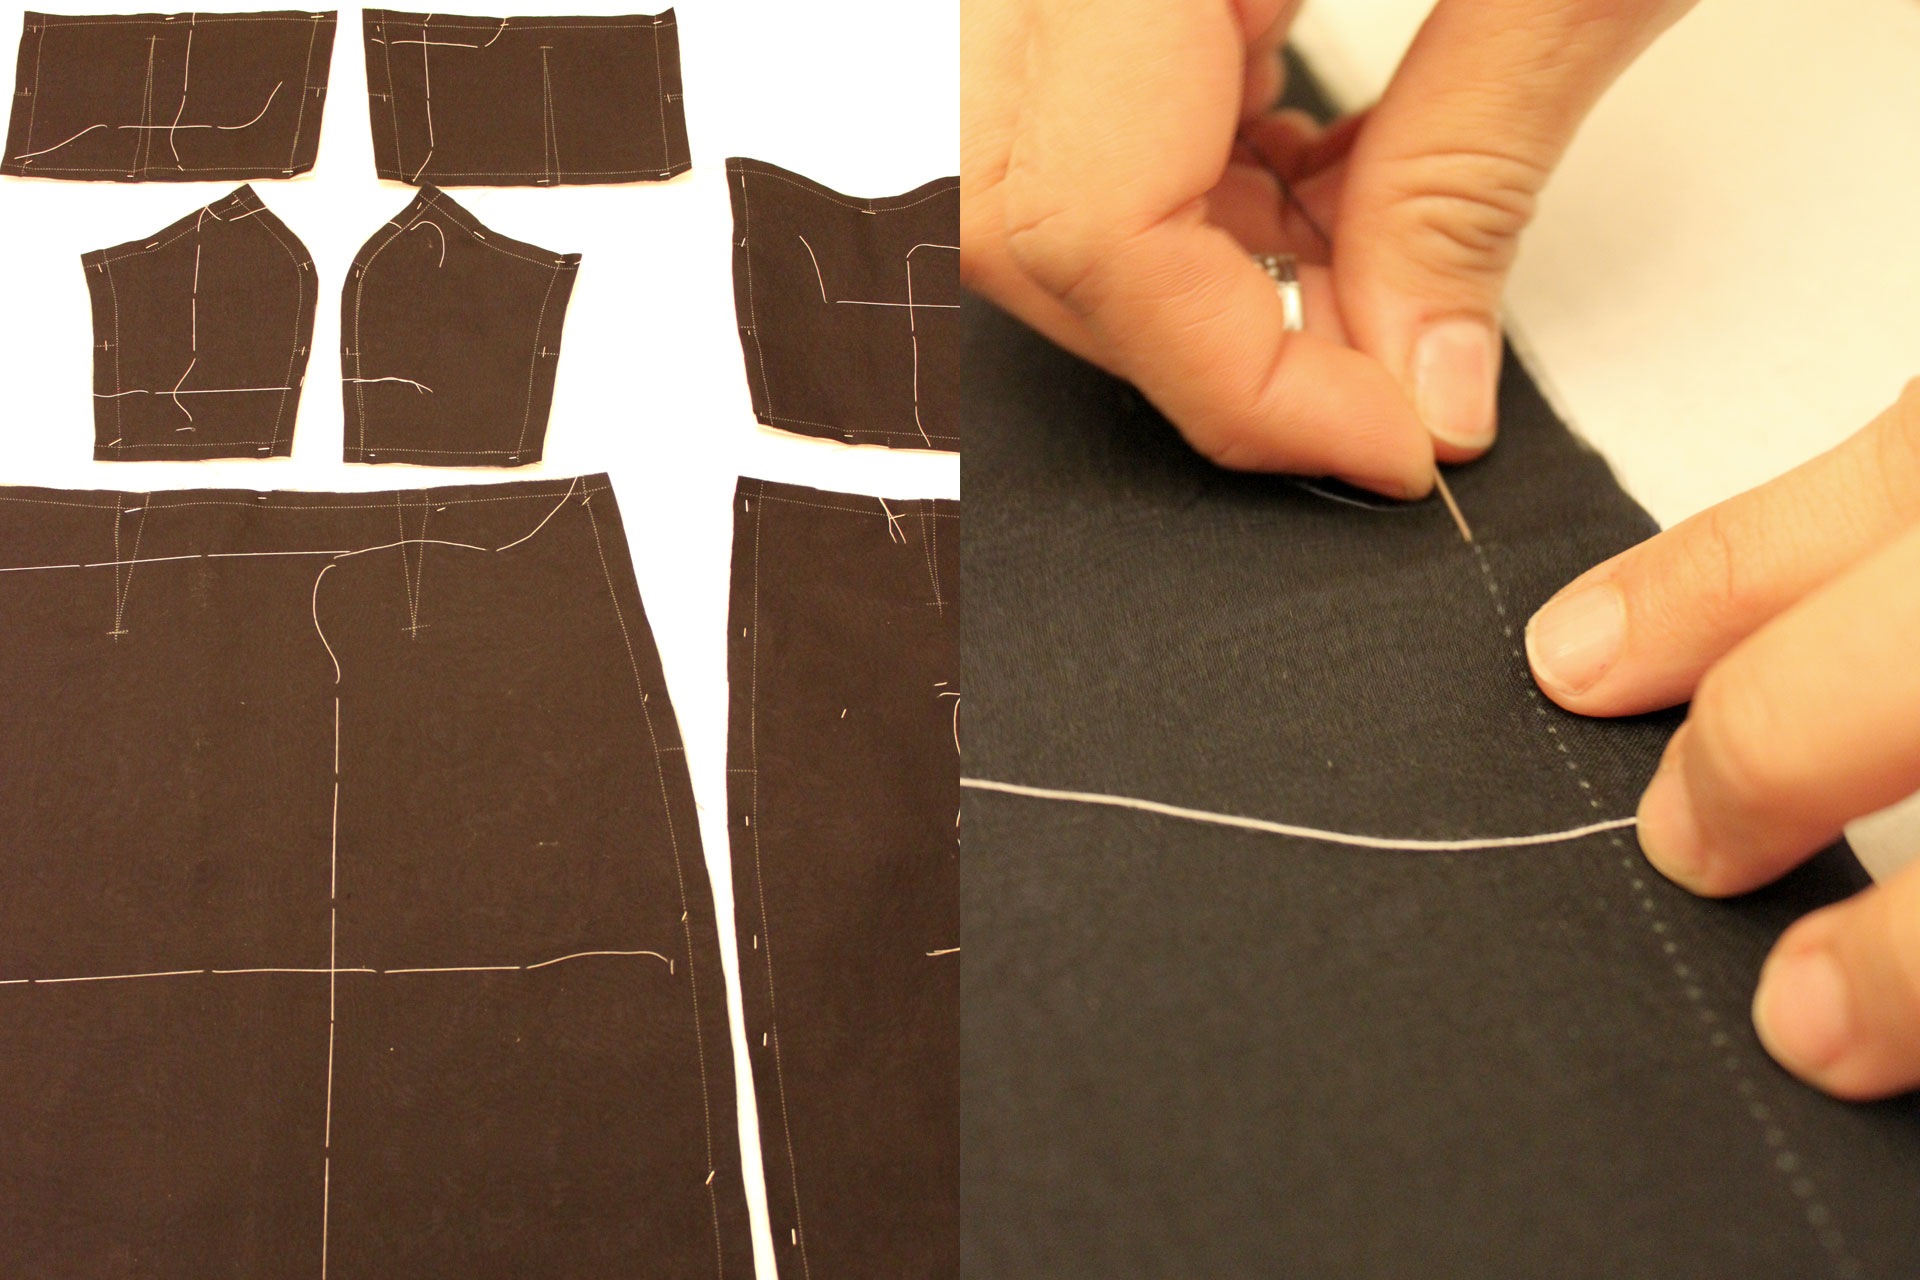
The silk shantung was underlined with washed/pre-shrunk silk organza, with both layers of each pattern piece hand-basted together before cutting. Then each pattern piece (shantung + organza layers) is carefully cut out as one unit. The two layers are secured along each sewing line by hand-stitching.
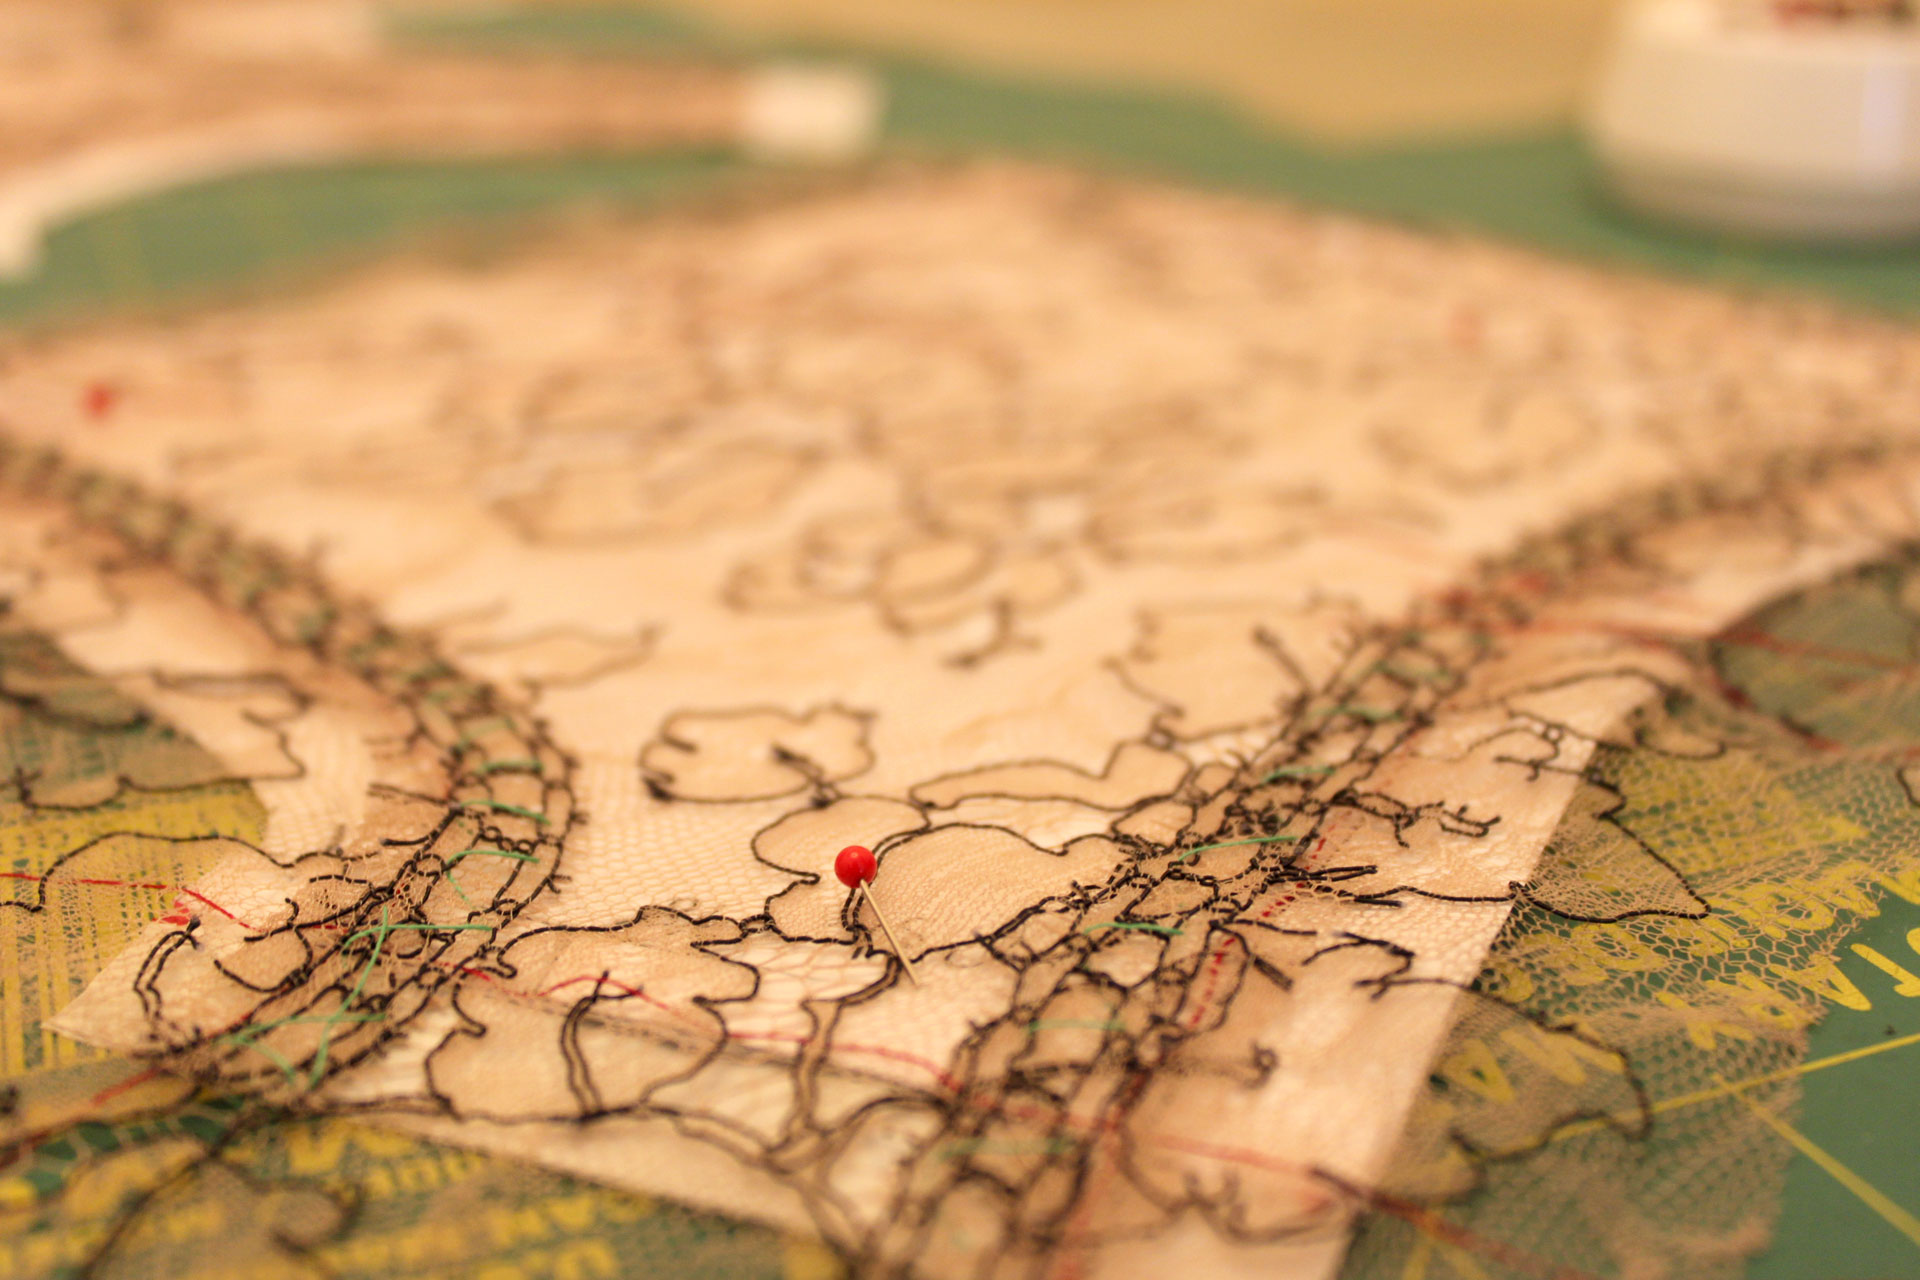
Engineering the lace
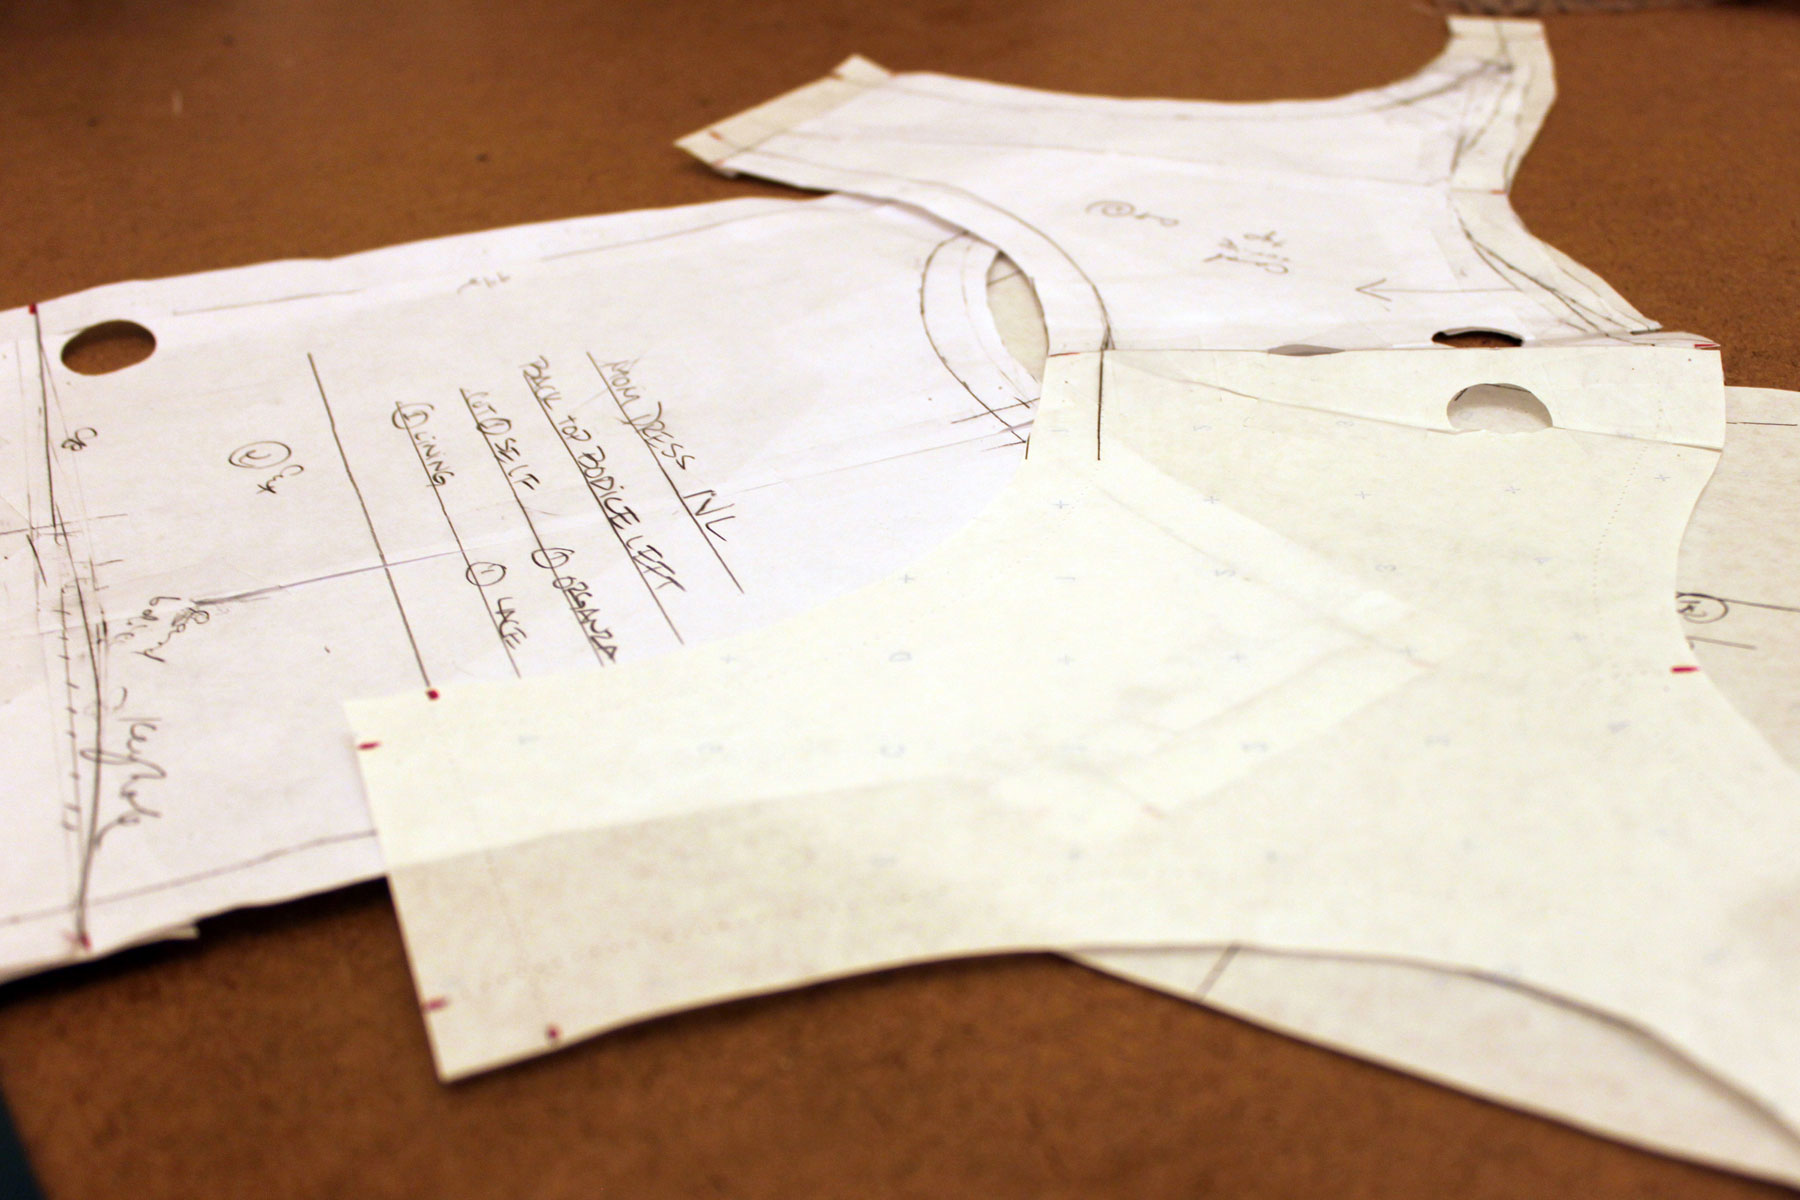
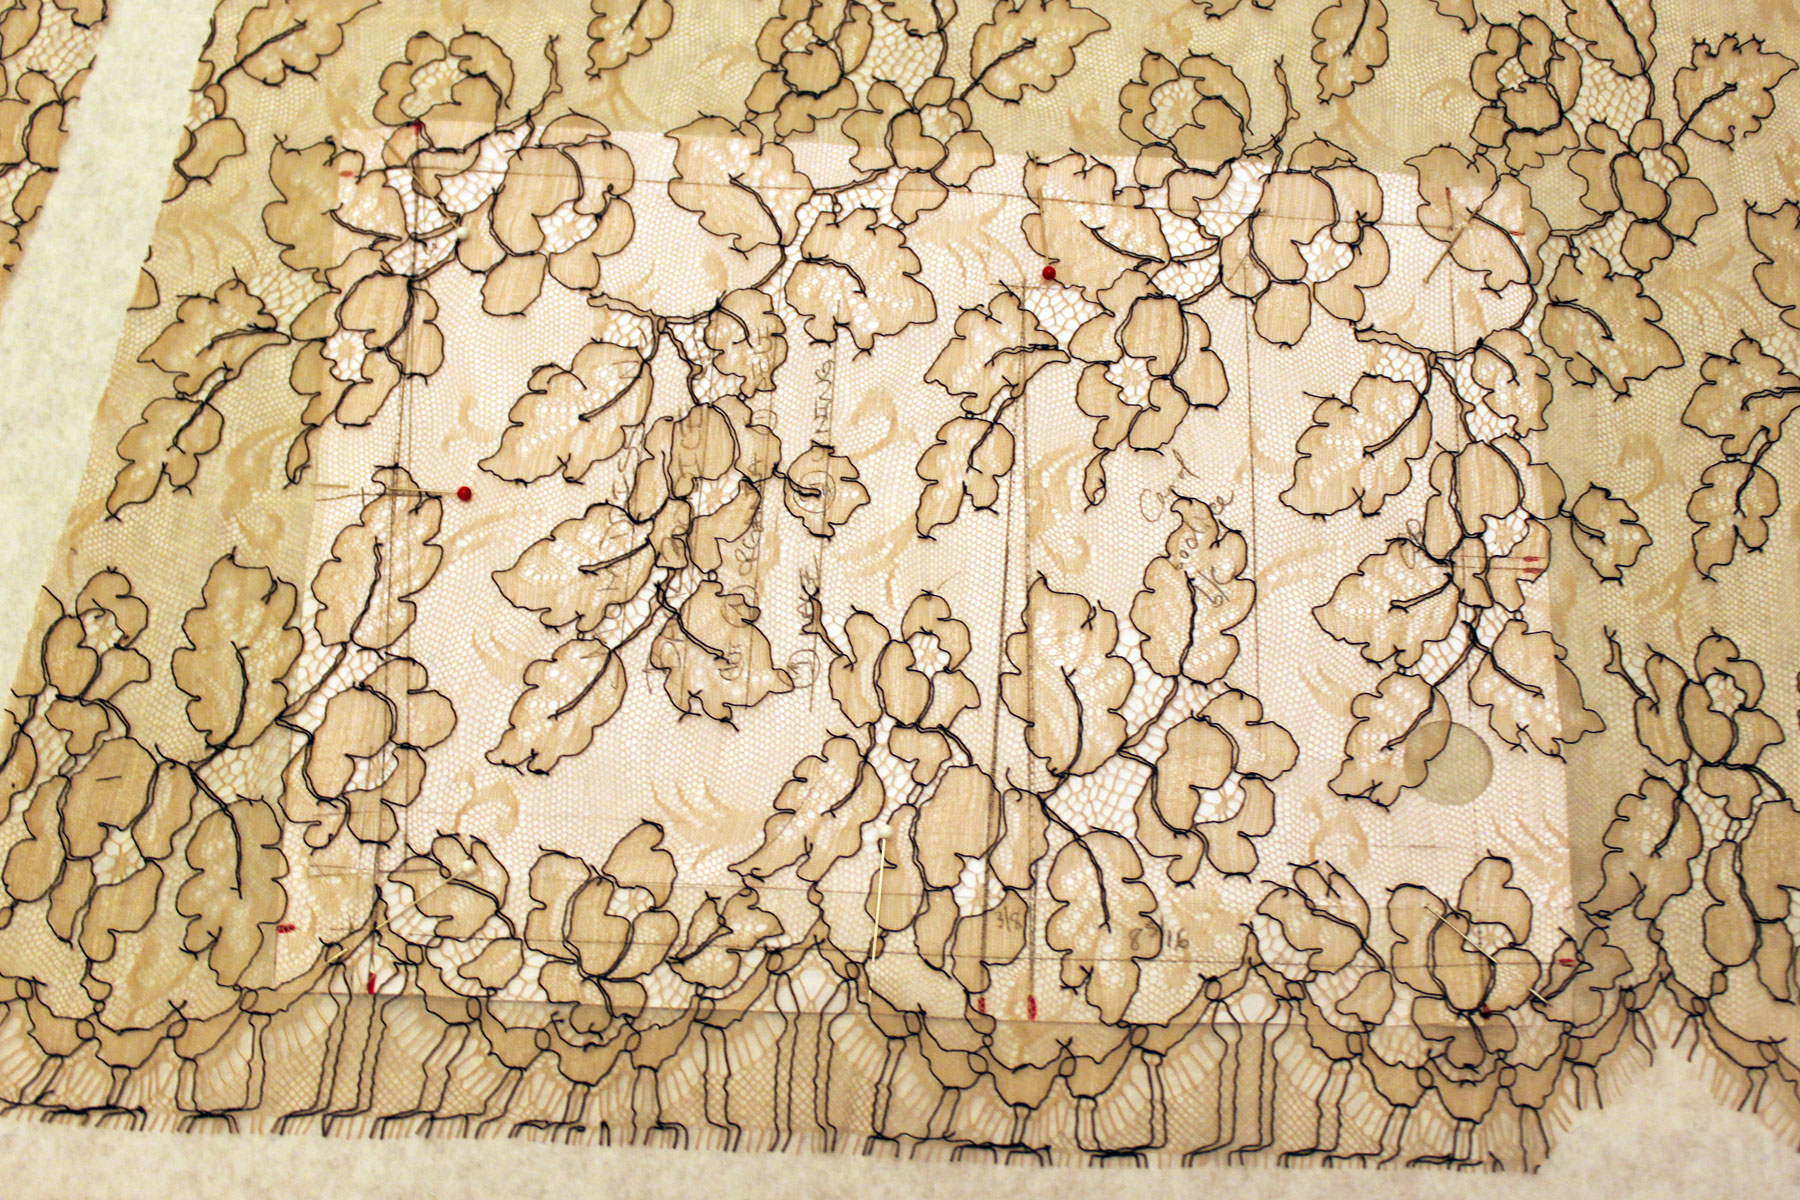
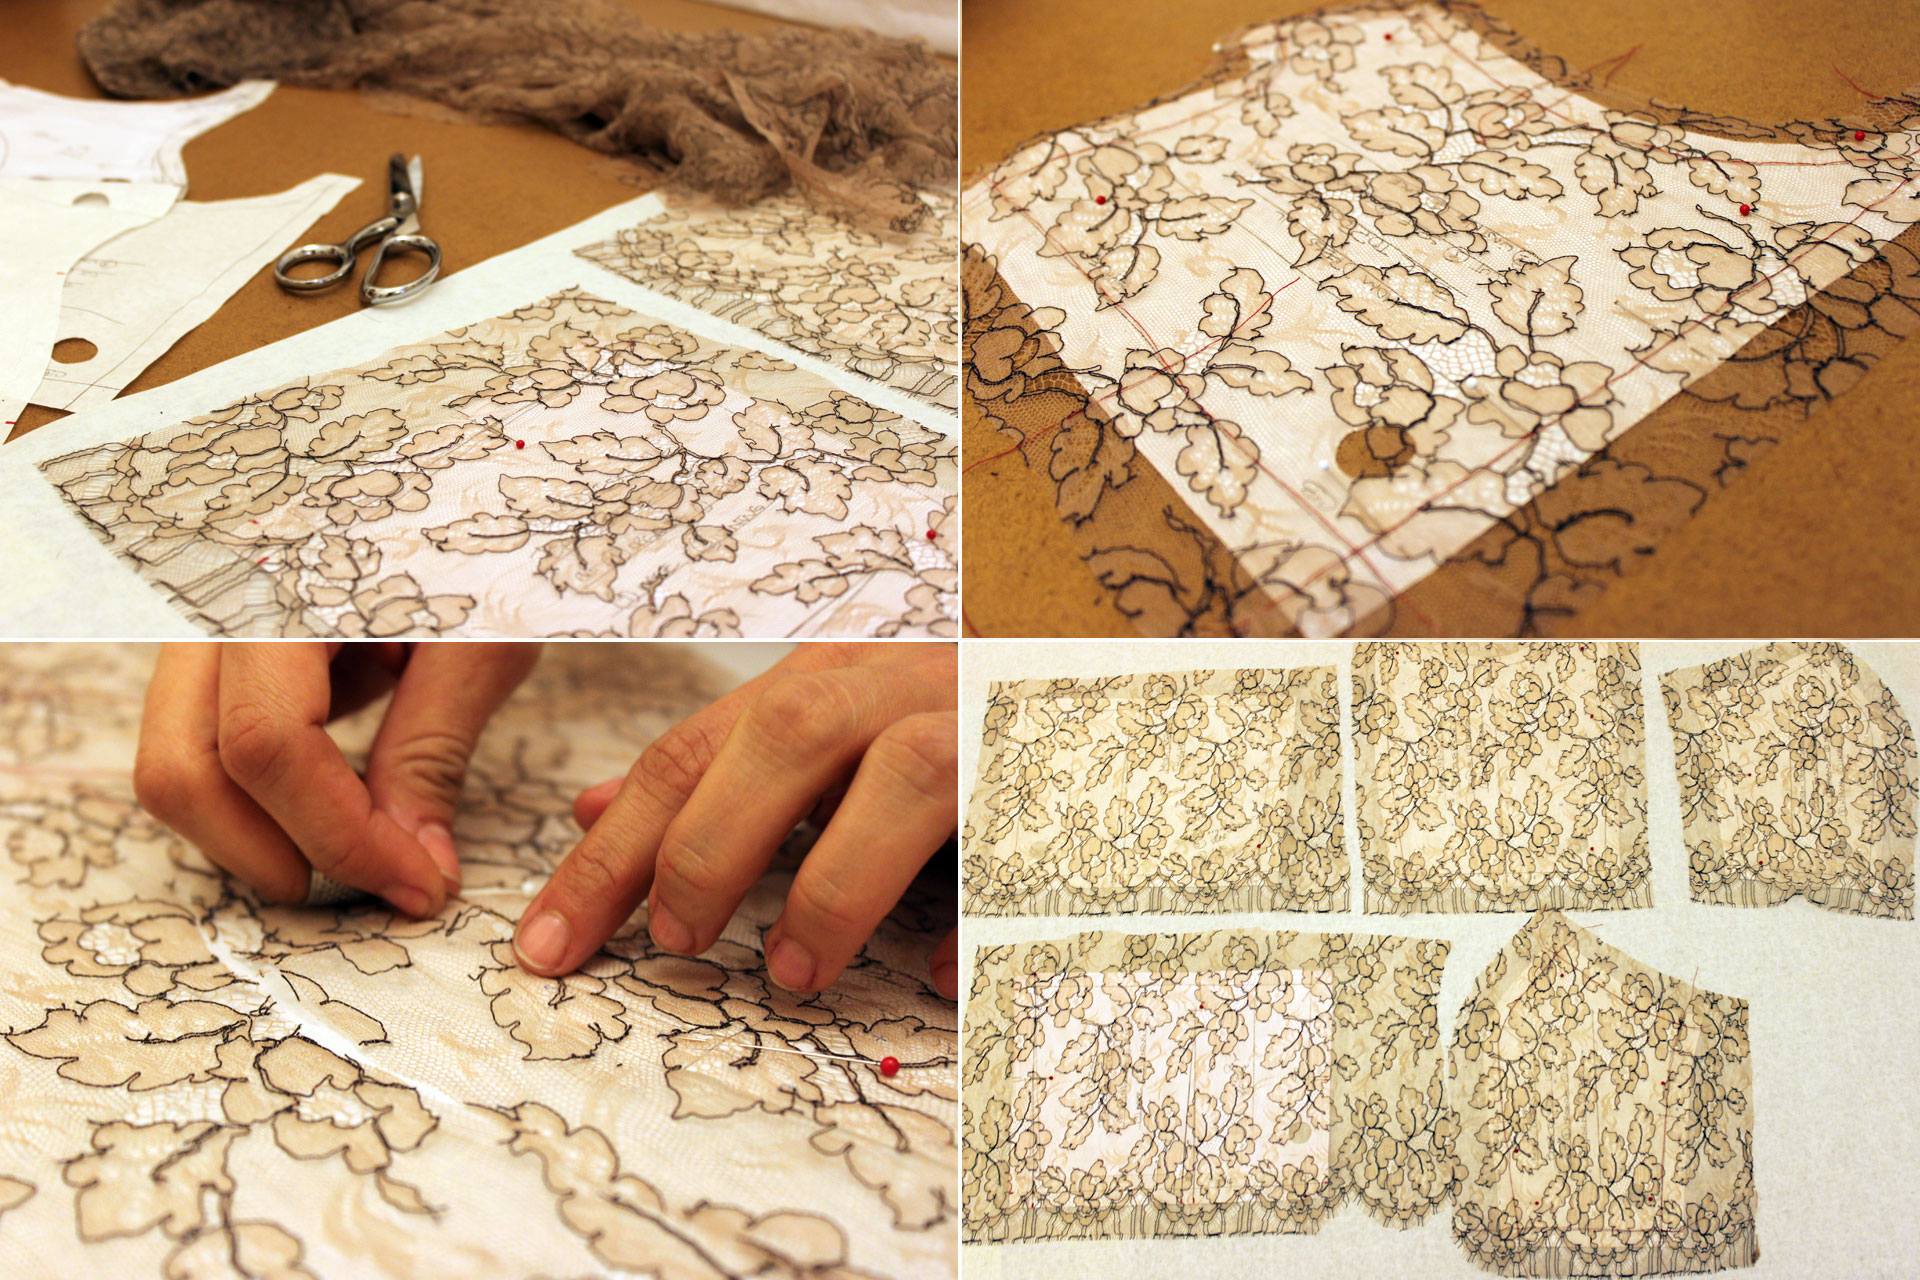
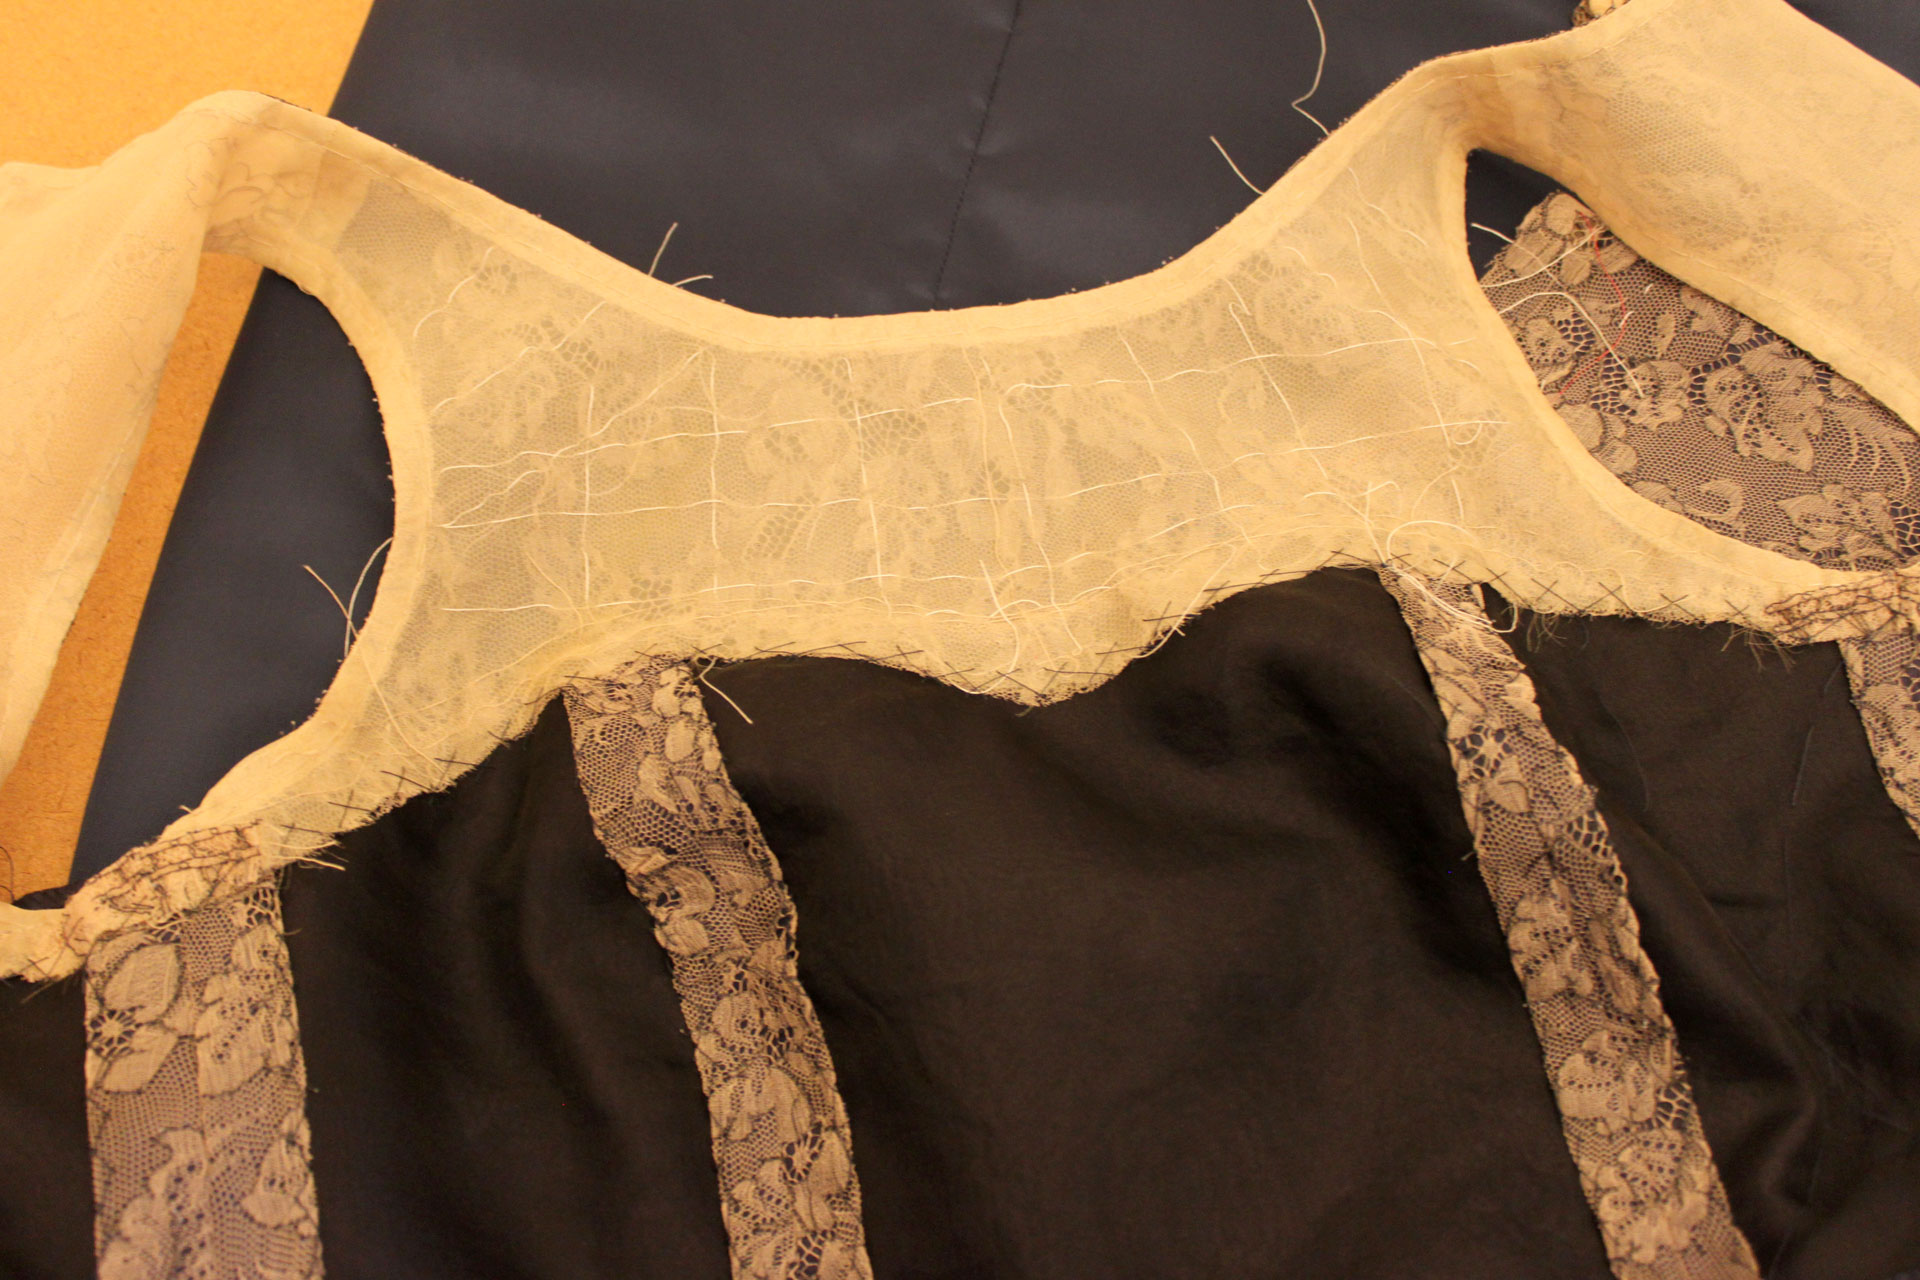
The lace required much more attention to detail when laying out the pattern pieces for cutting, to engineer the embroidery design symmetrically left-to-right, matching at every seam, and with the scallop position perfectly overlapping the waist seam. Each bodice piece was carefully cutting in the lace, with ample seam allowance. Each sewing line was marked on the lace by hand-basted thread.
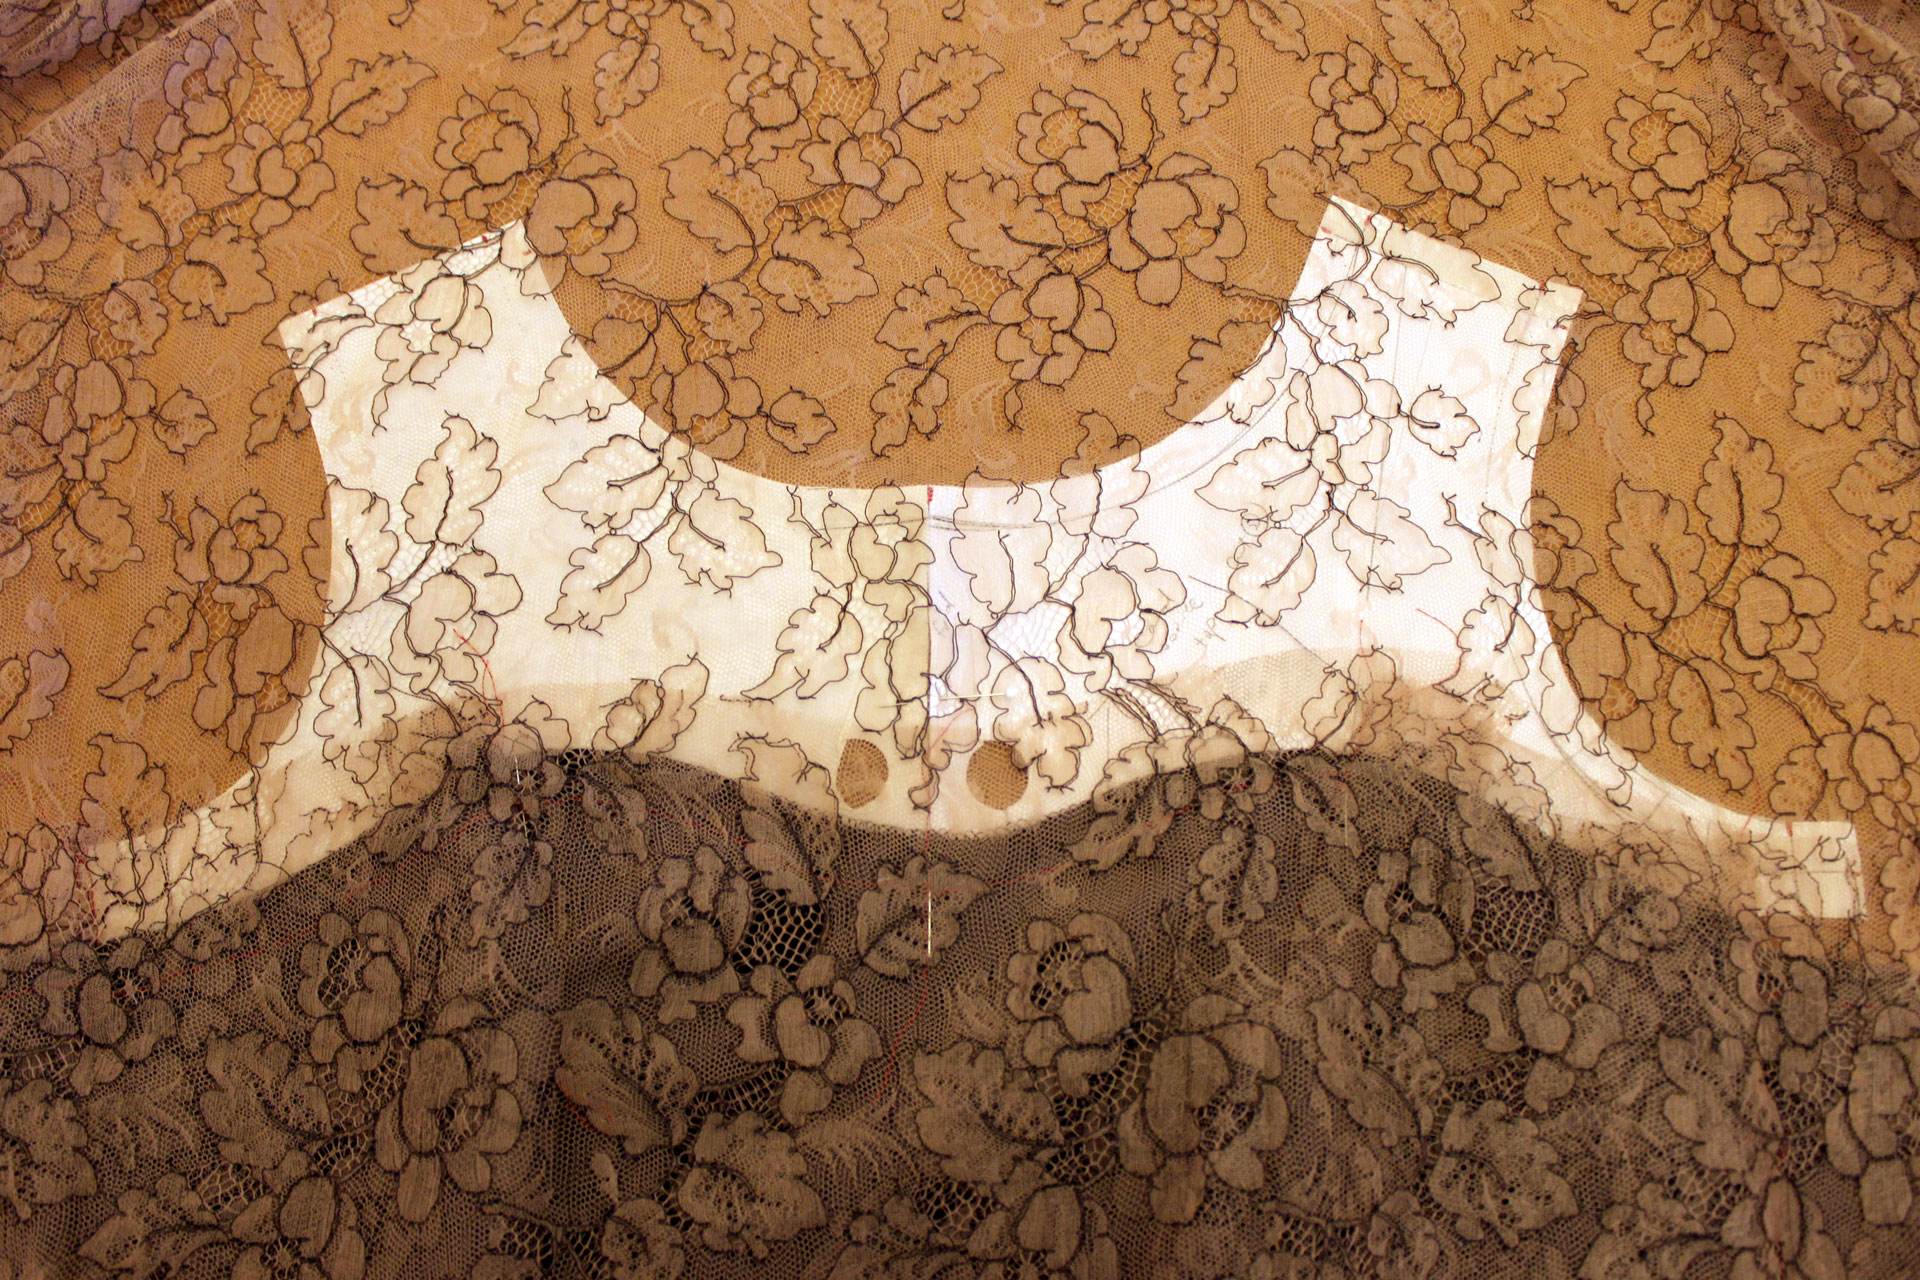
Once the main bodice pieces were basted together, we positioned the top bodice piece to match the lace embroidery design, top-to-bottom as well as left-to-right. The non-scalloped edge of the lace, often easily-neglected, provided a gorgeous detail to line the neckline, armhole, and back keyhole edges, all hand-basted in place of course.
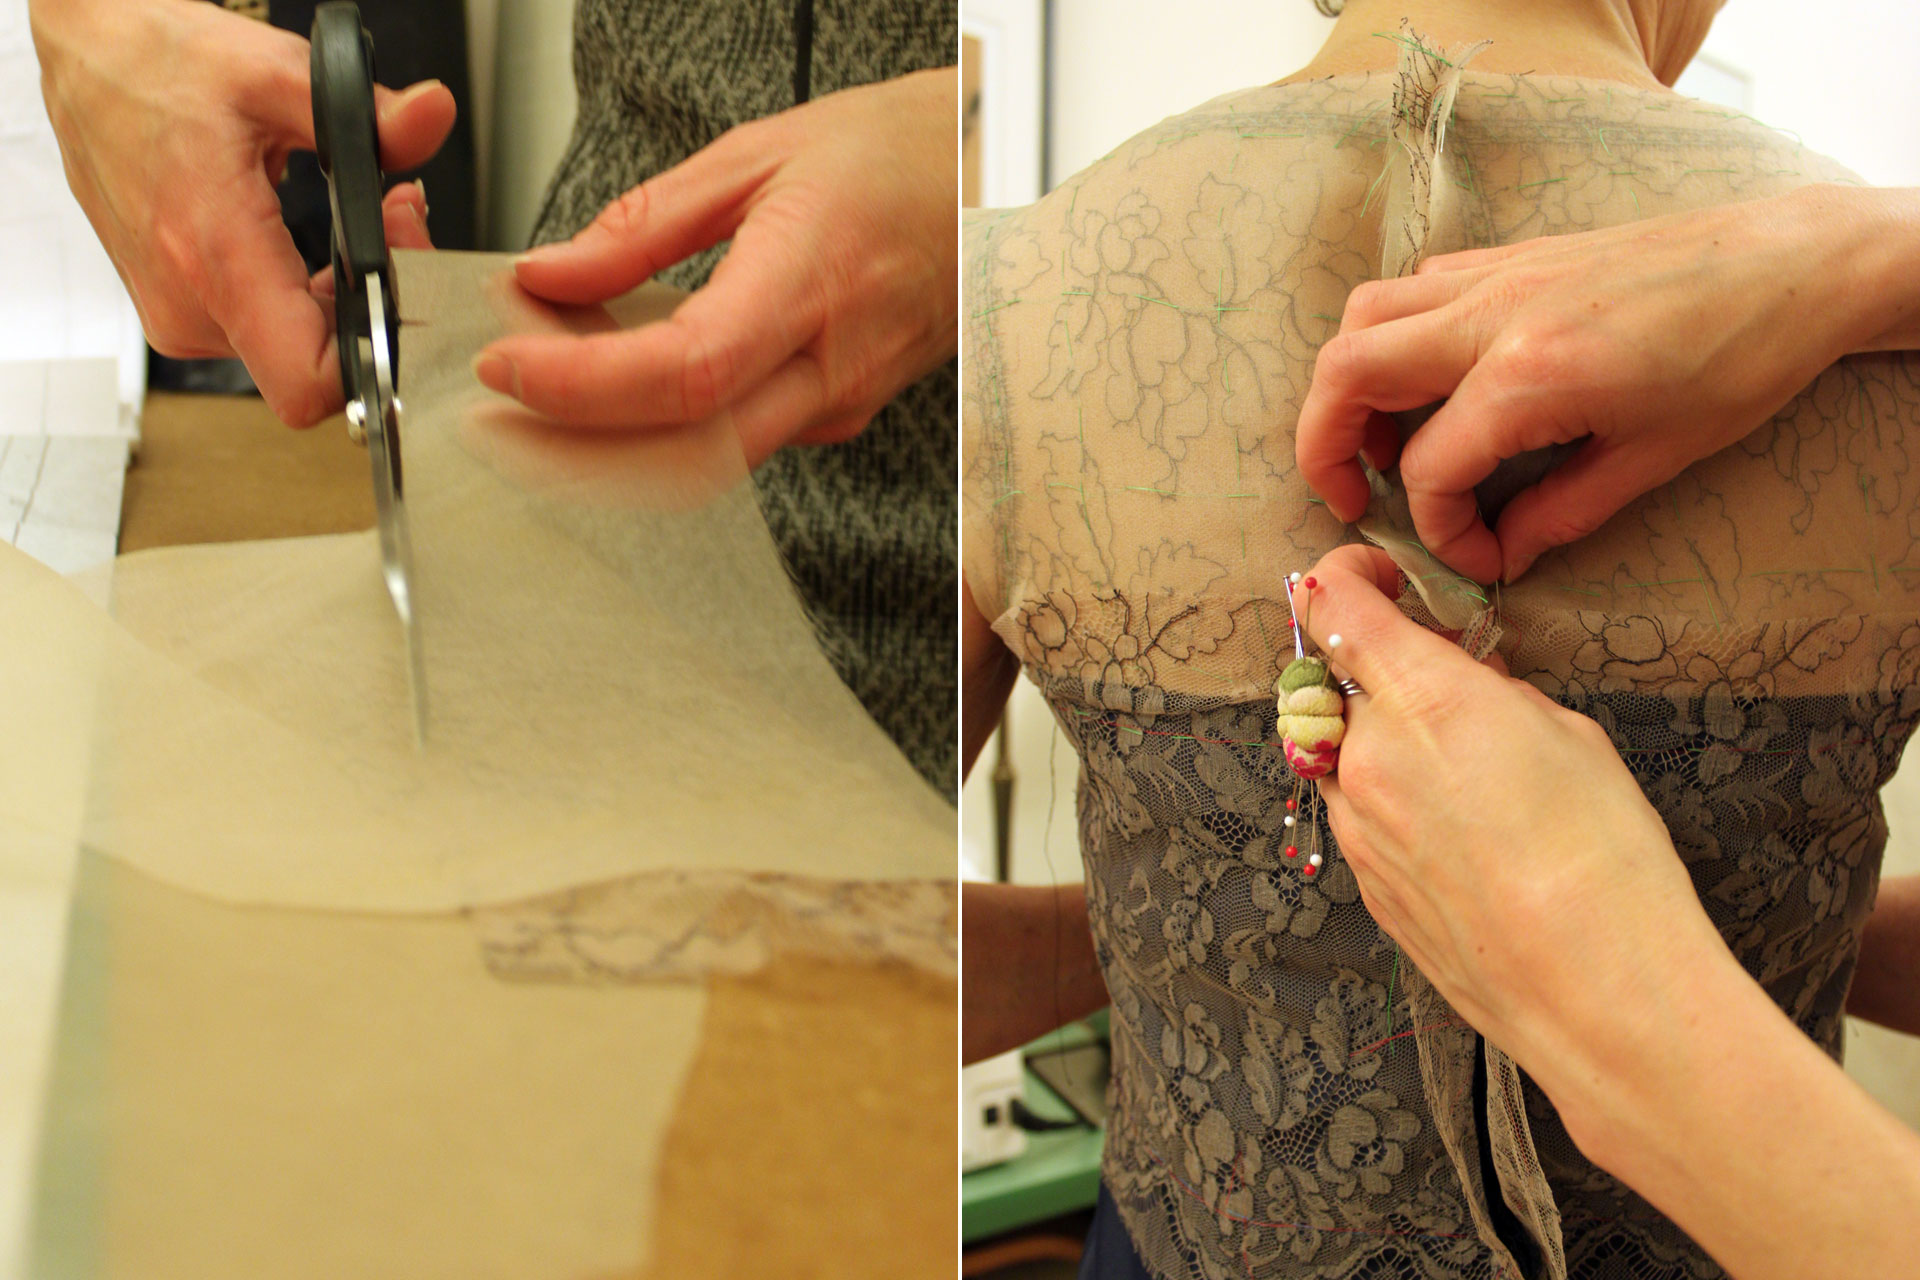
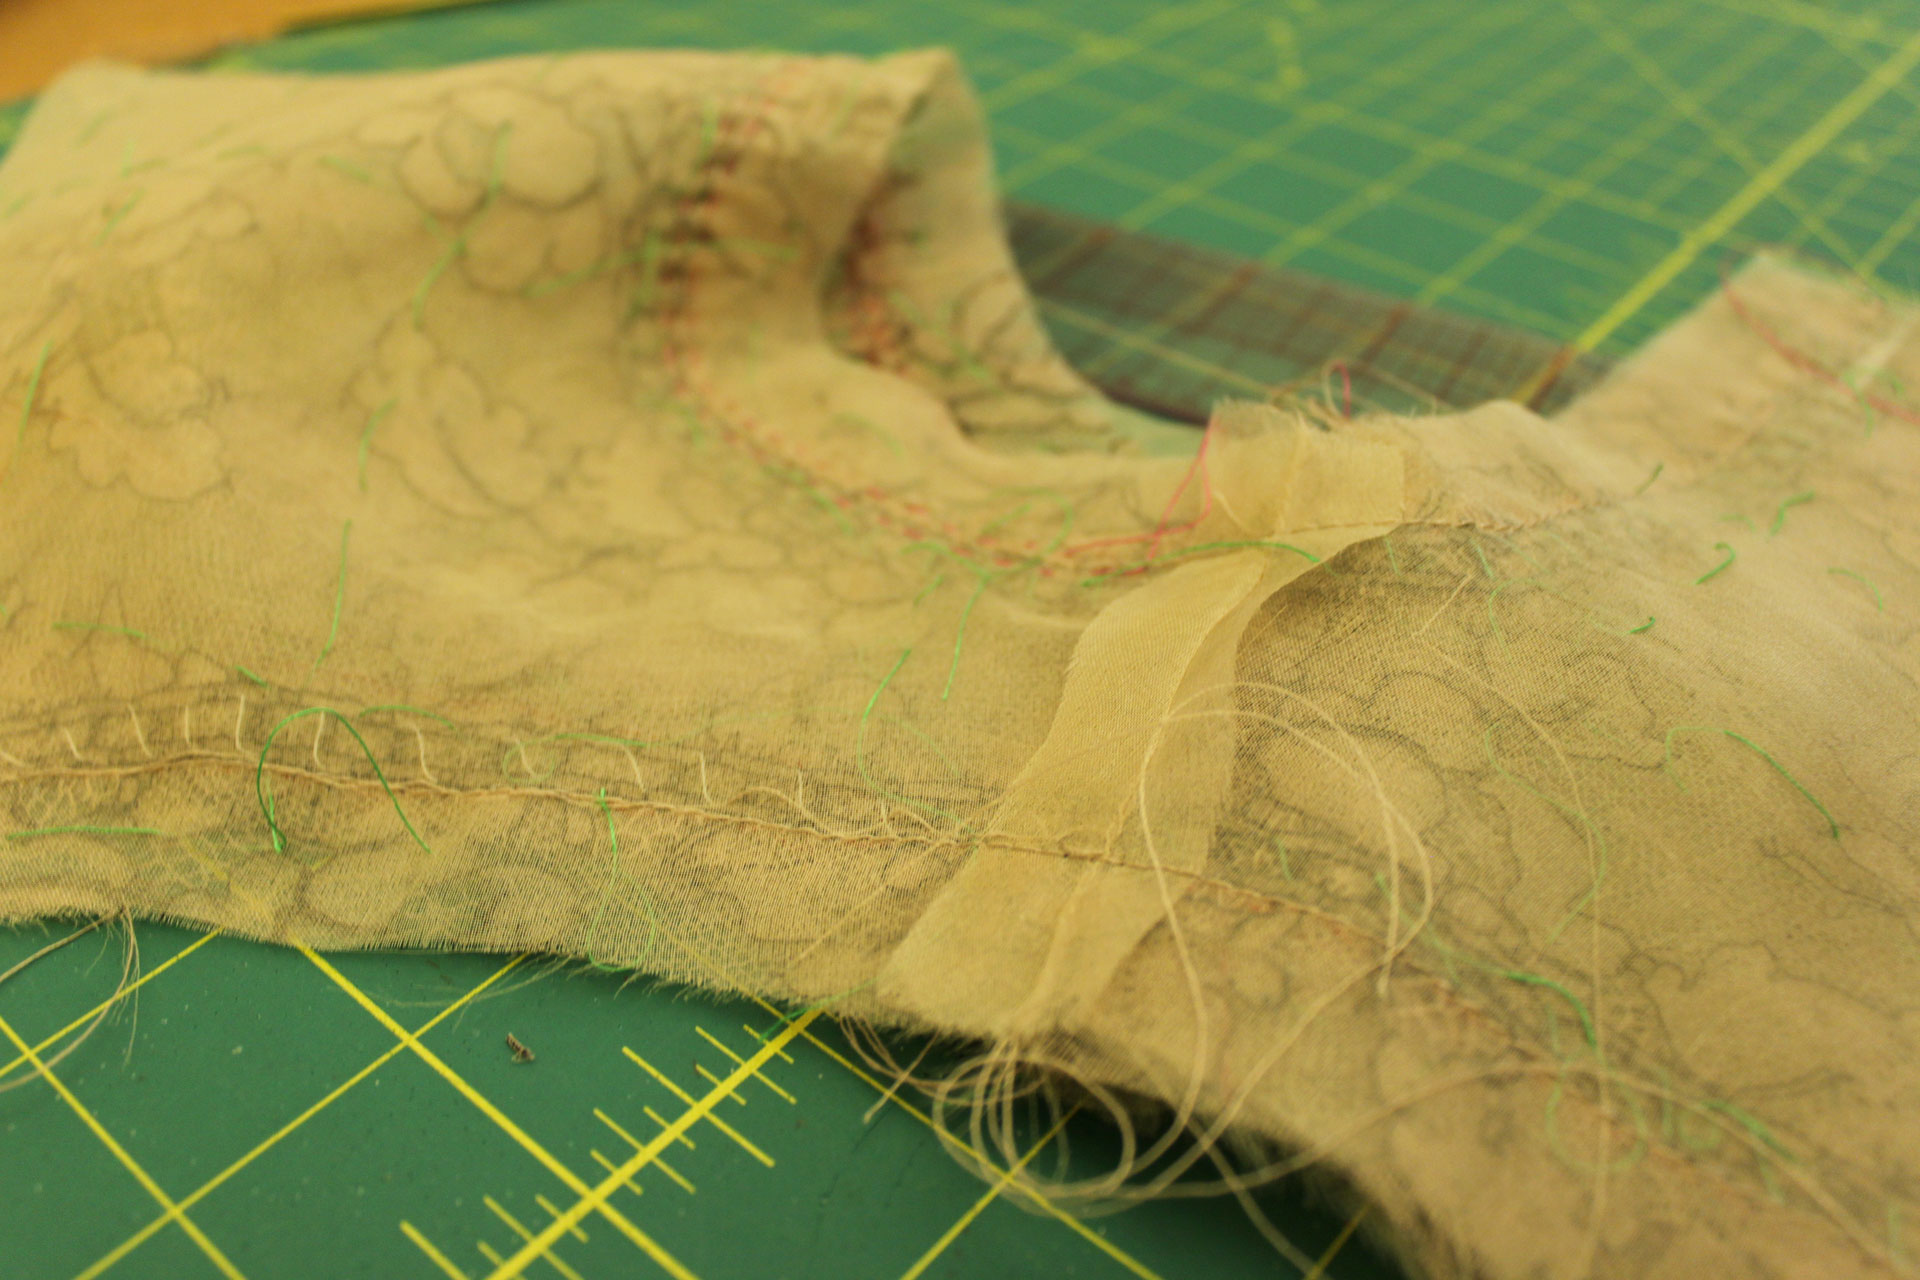
Assembly for fitting
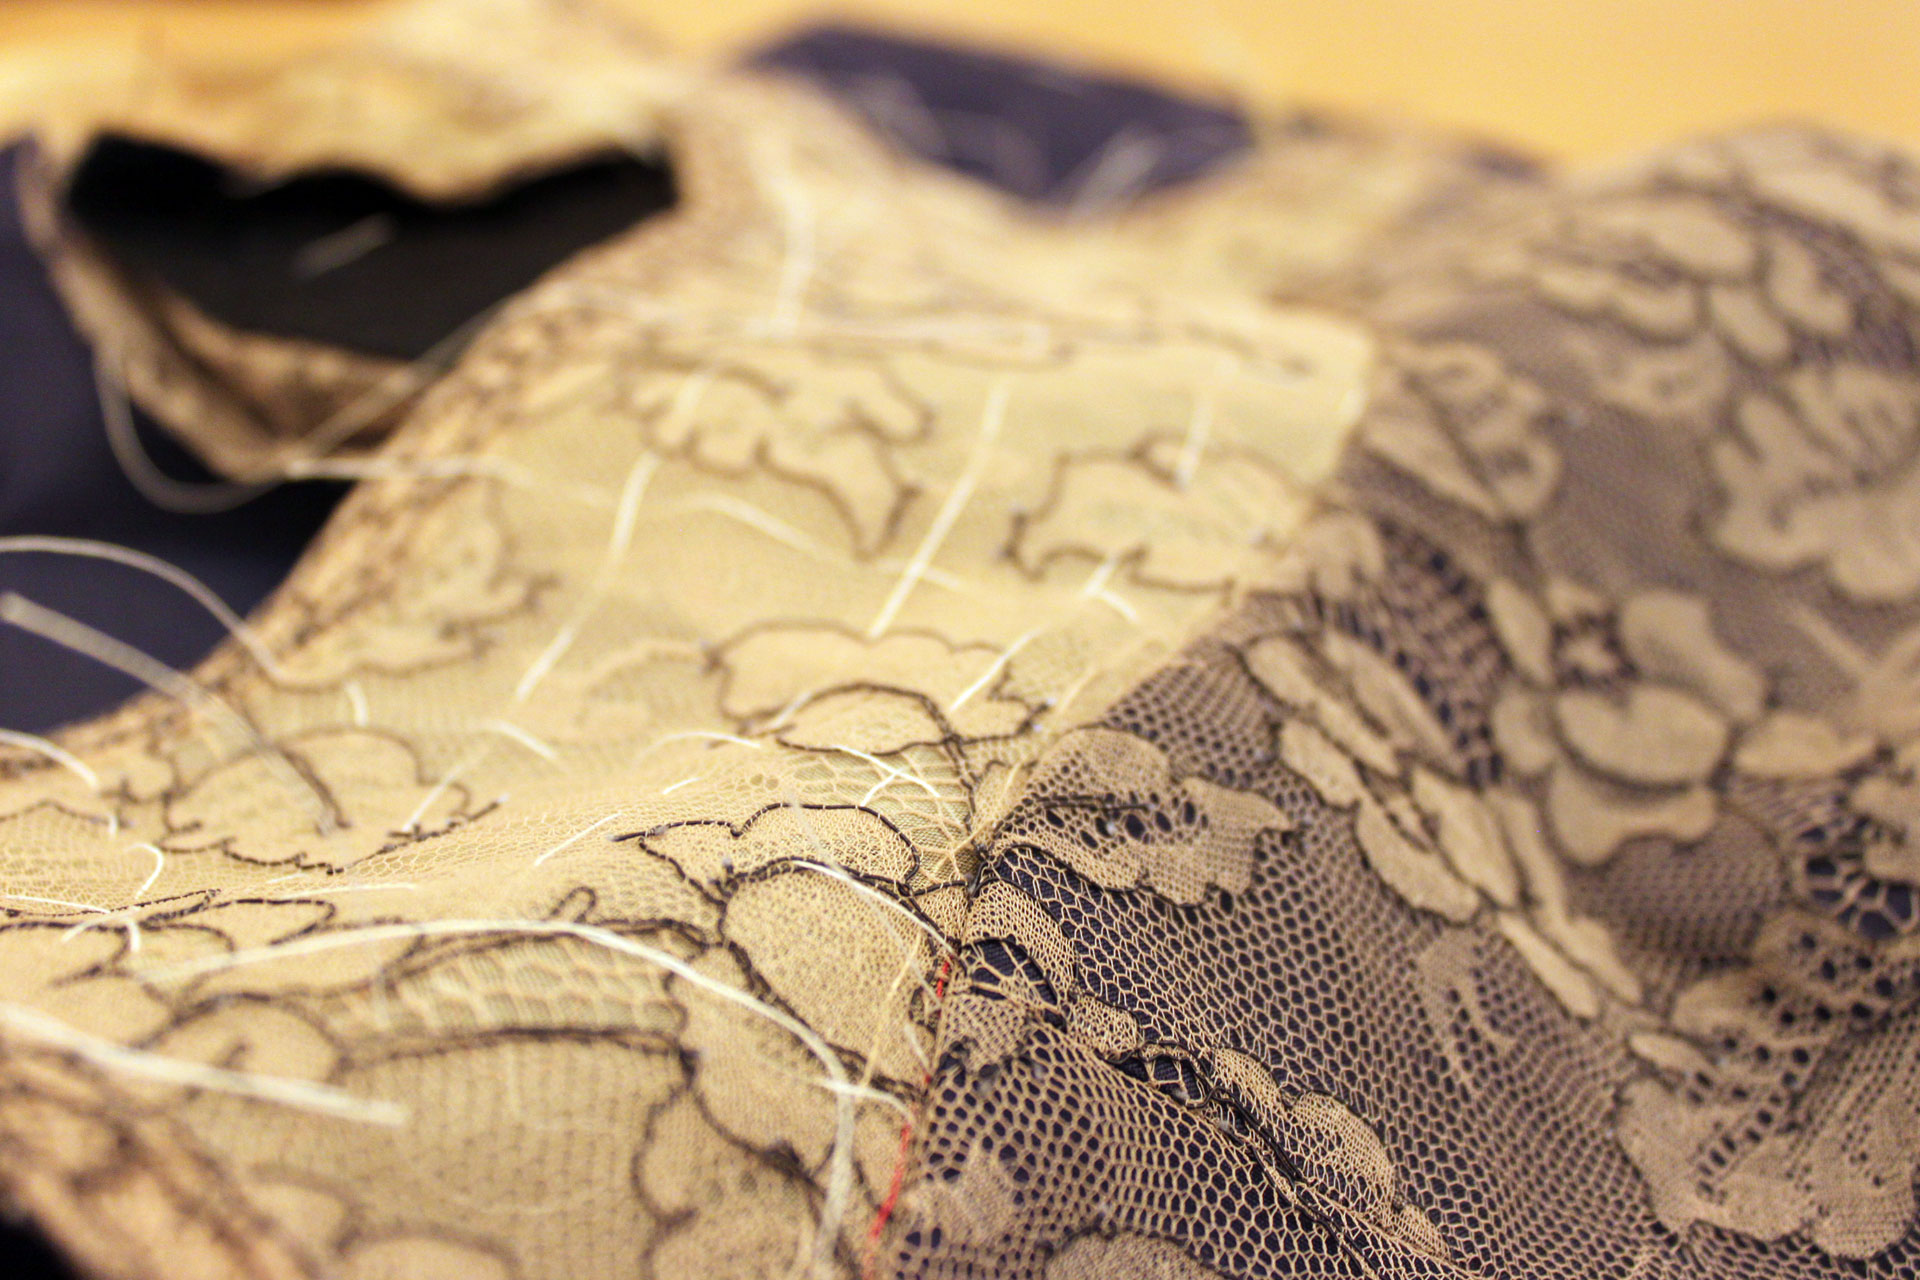
We naturally dyed silk organza in a tea bath to match the lace ground color, then cut and hand-sewed it as a backing layer to support the lace. The garment is the sum of many parts, and is hand-basted together for a fitting, and then taken apart again after to continue the construction process. For this highlighted fitting, the upper bodice was hand-sewn to the lower bodice, and is still inside-out at this point, because once the seam allowance is trimmed and flipped, there is no going back!
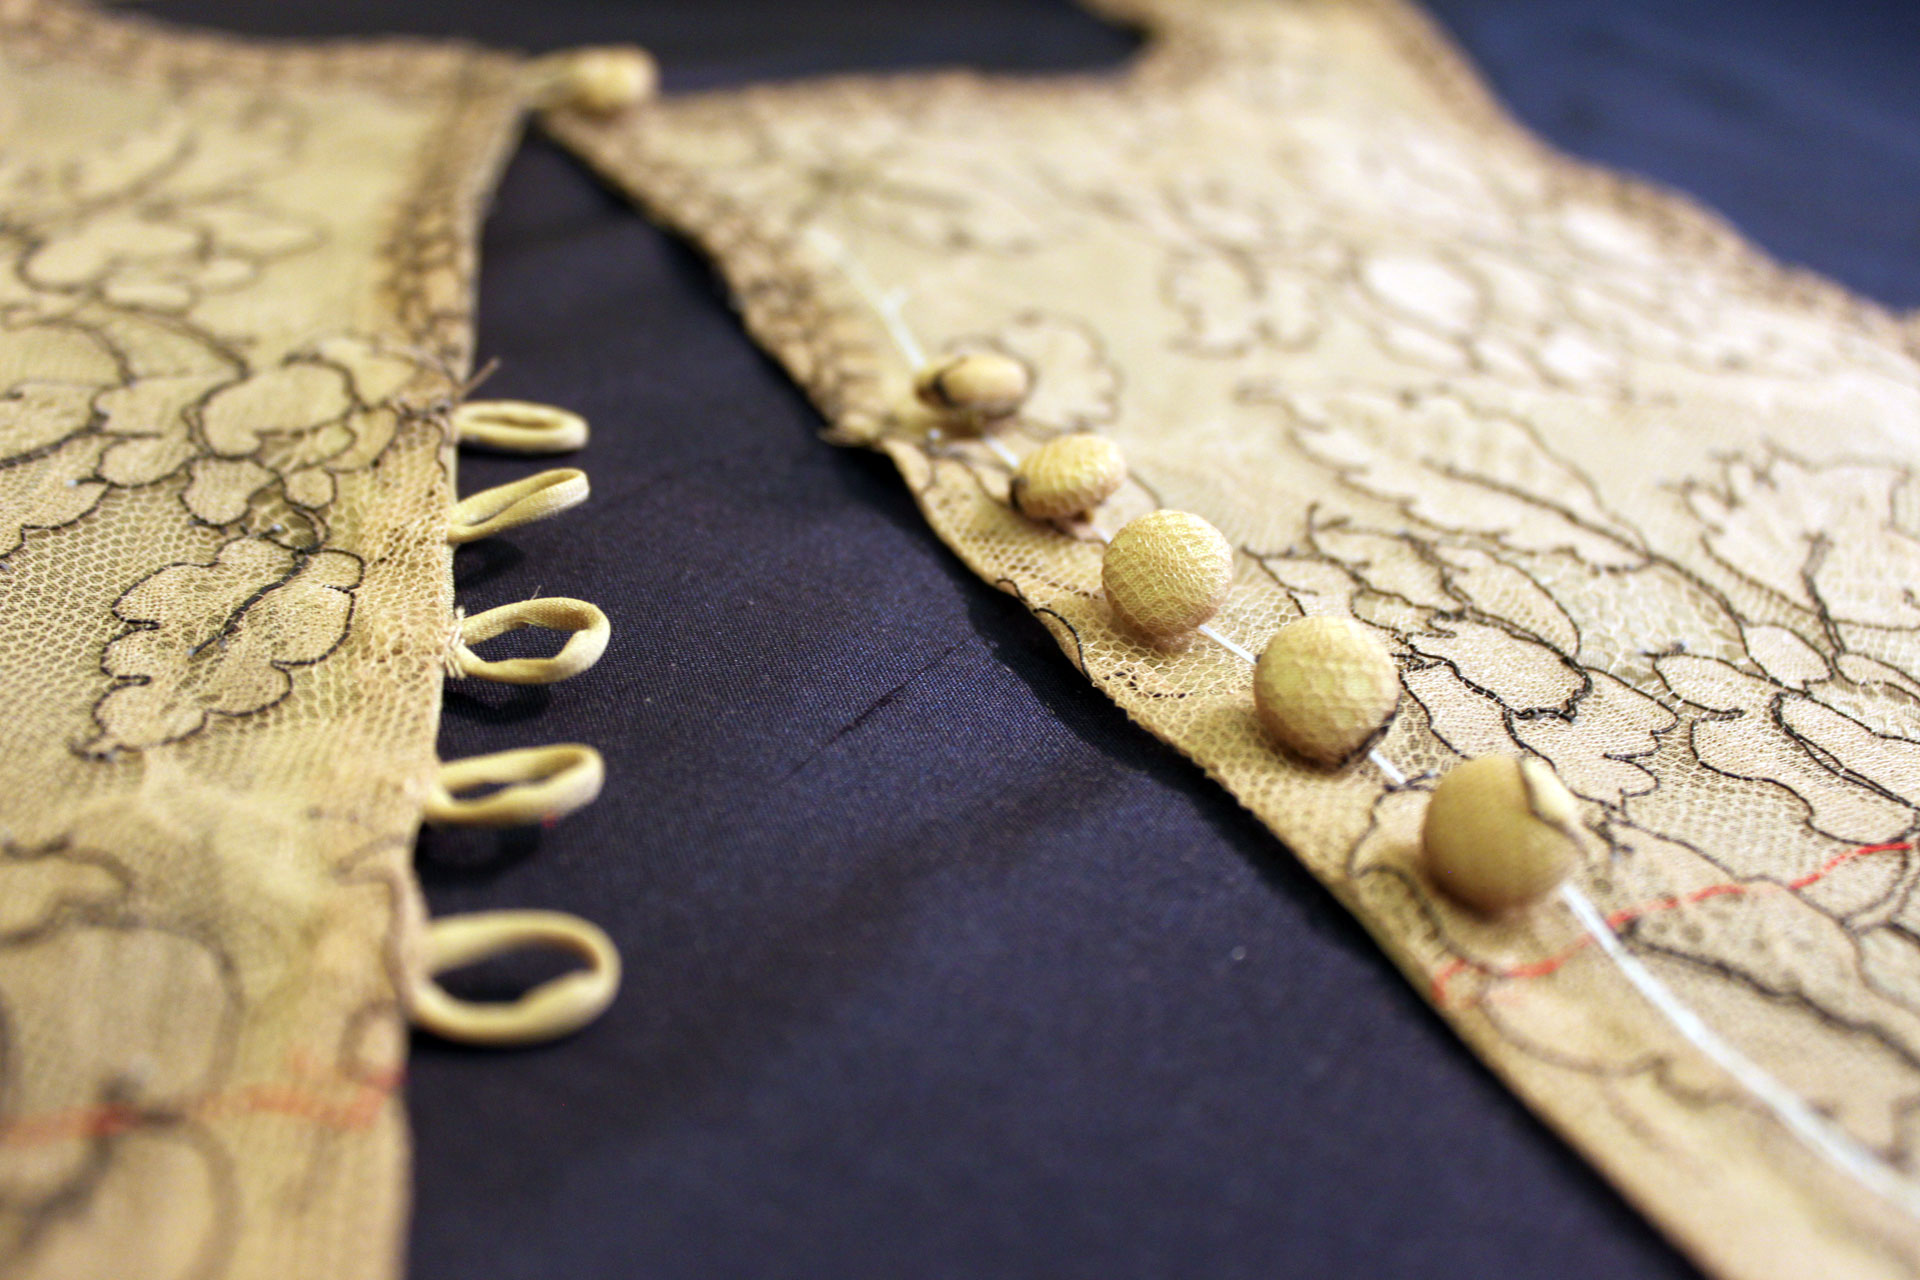
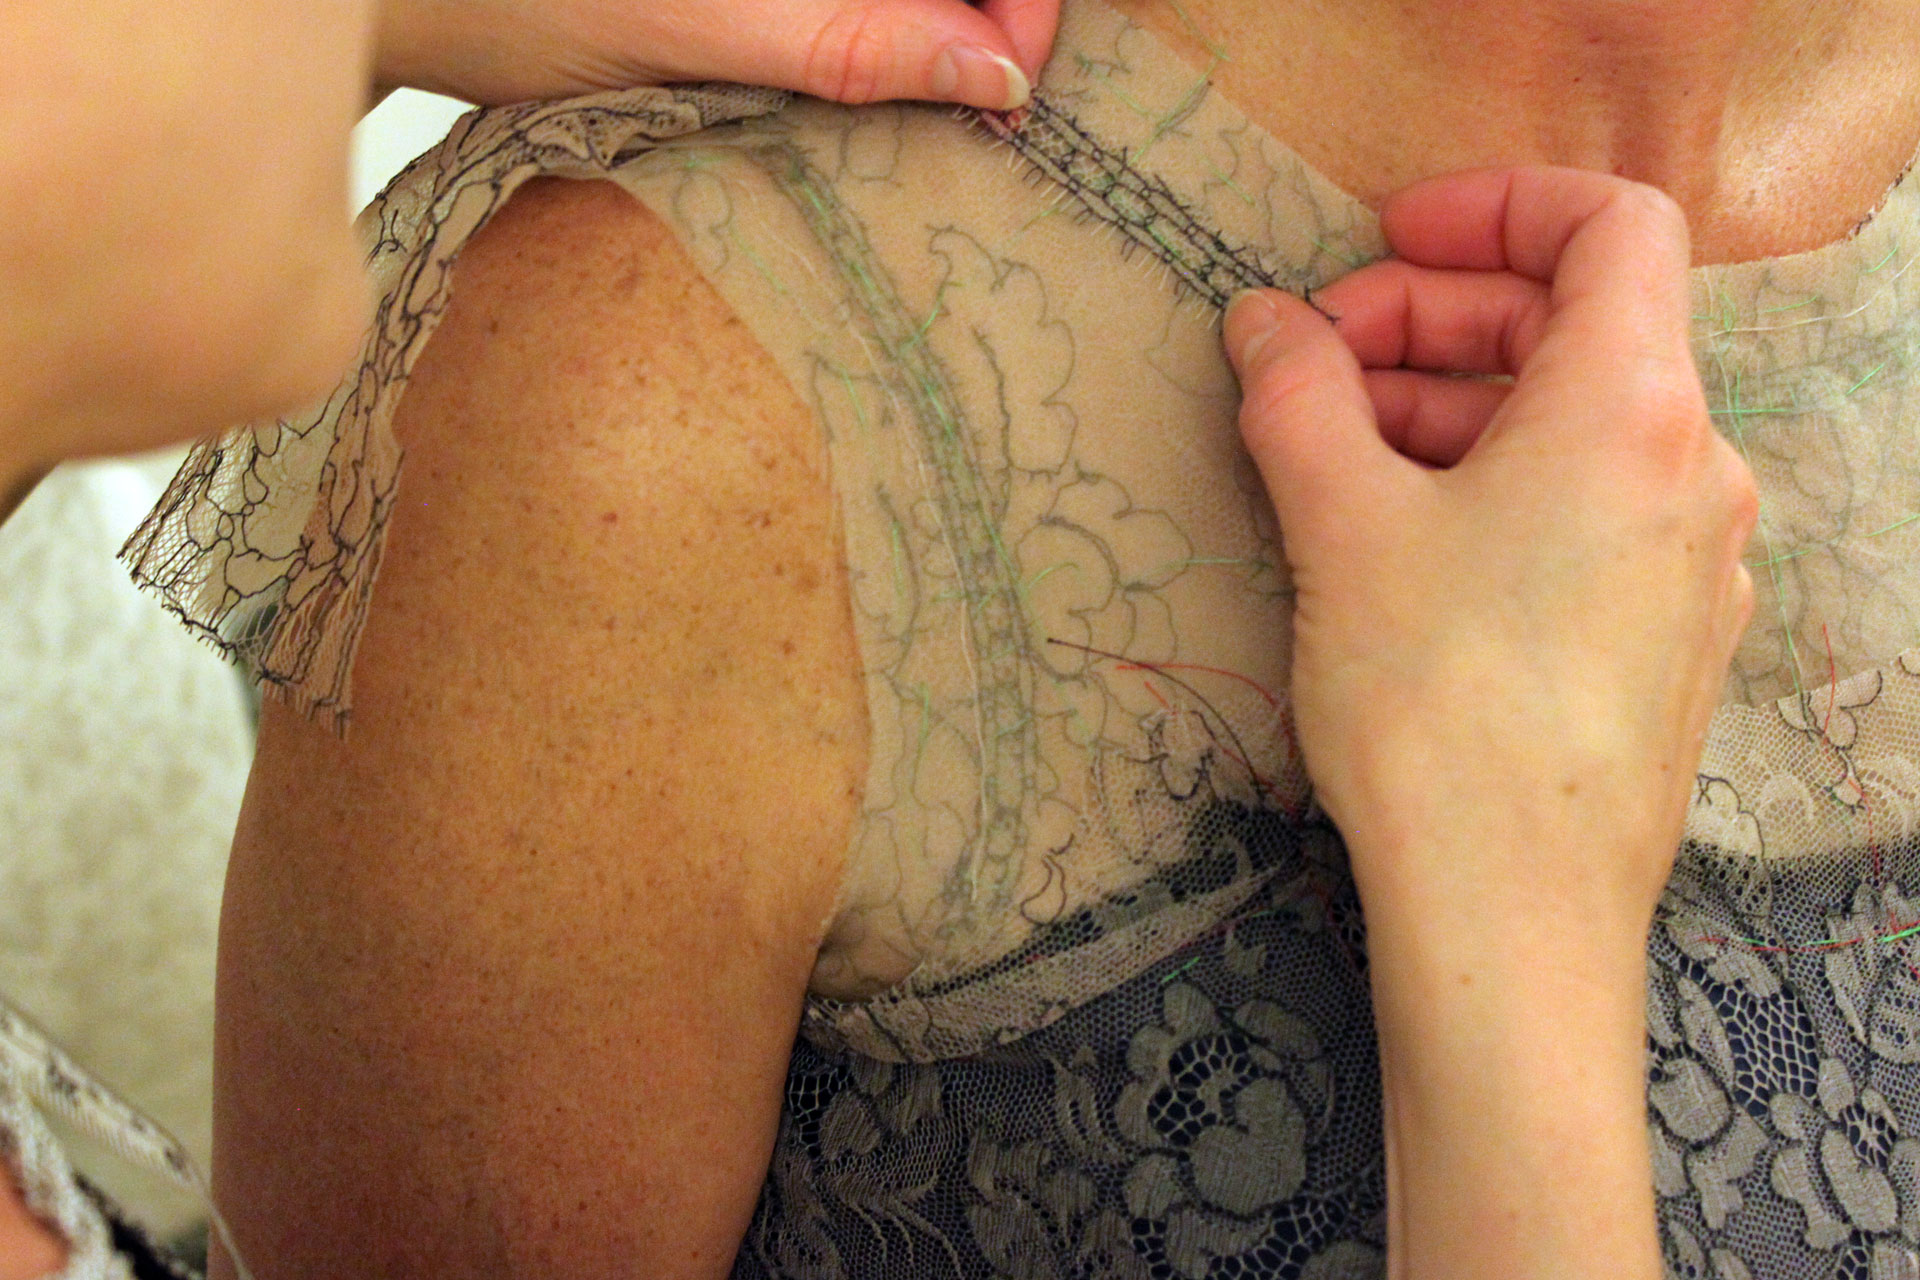
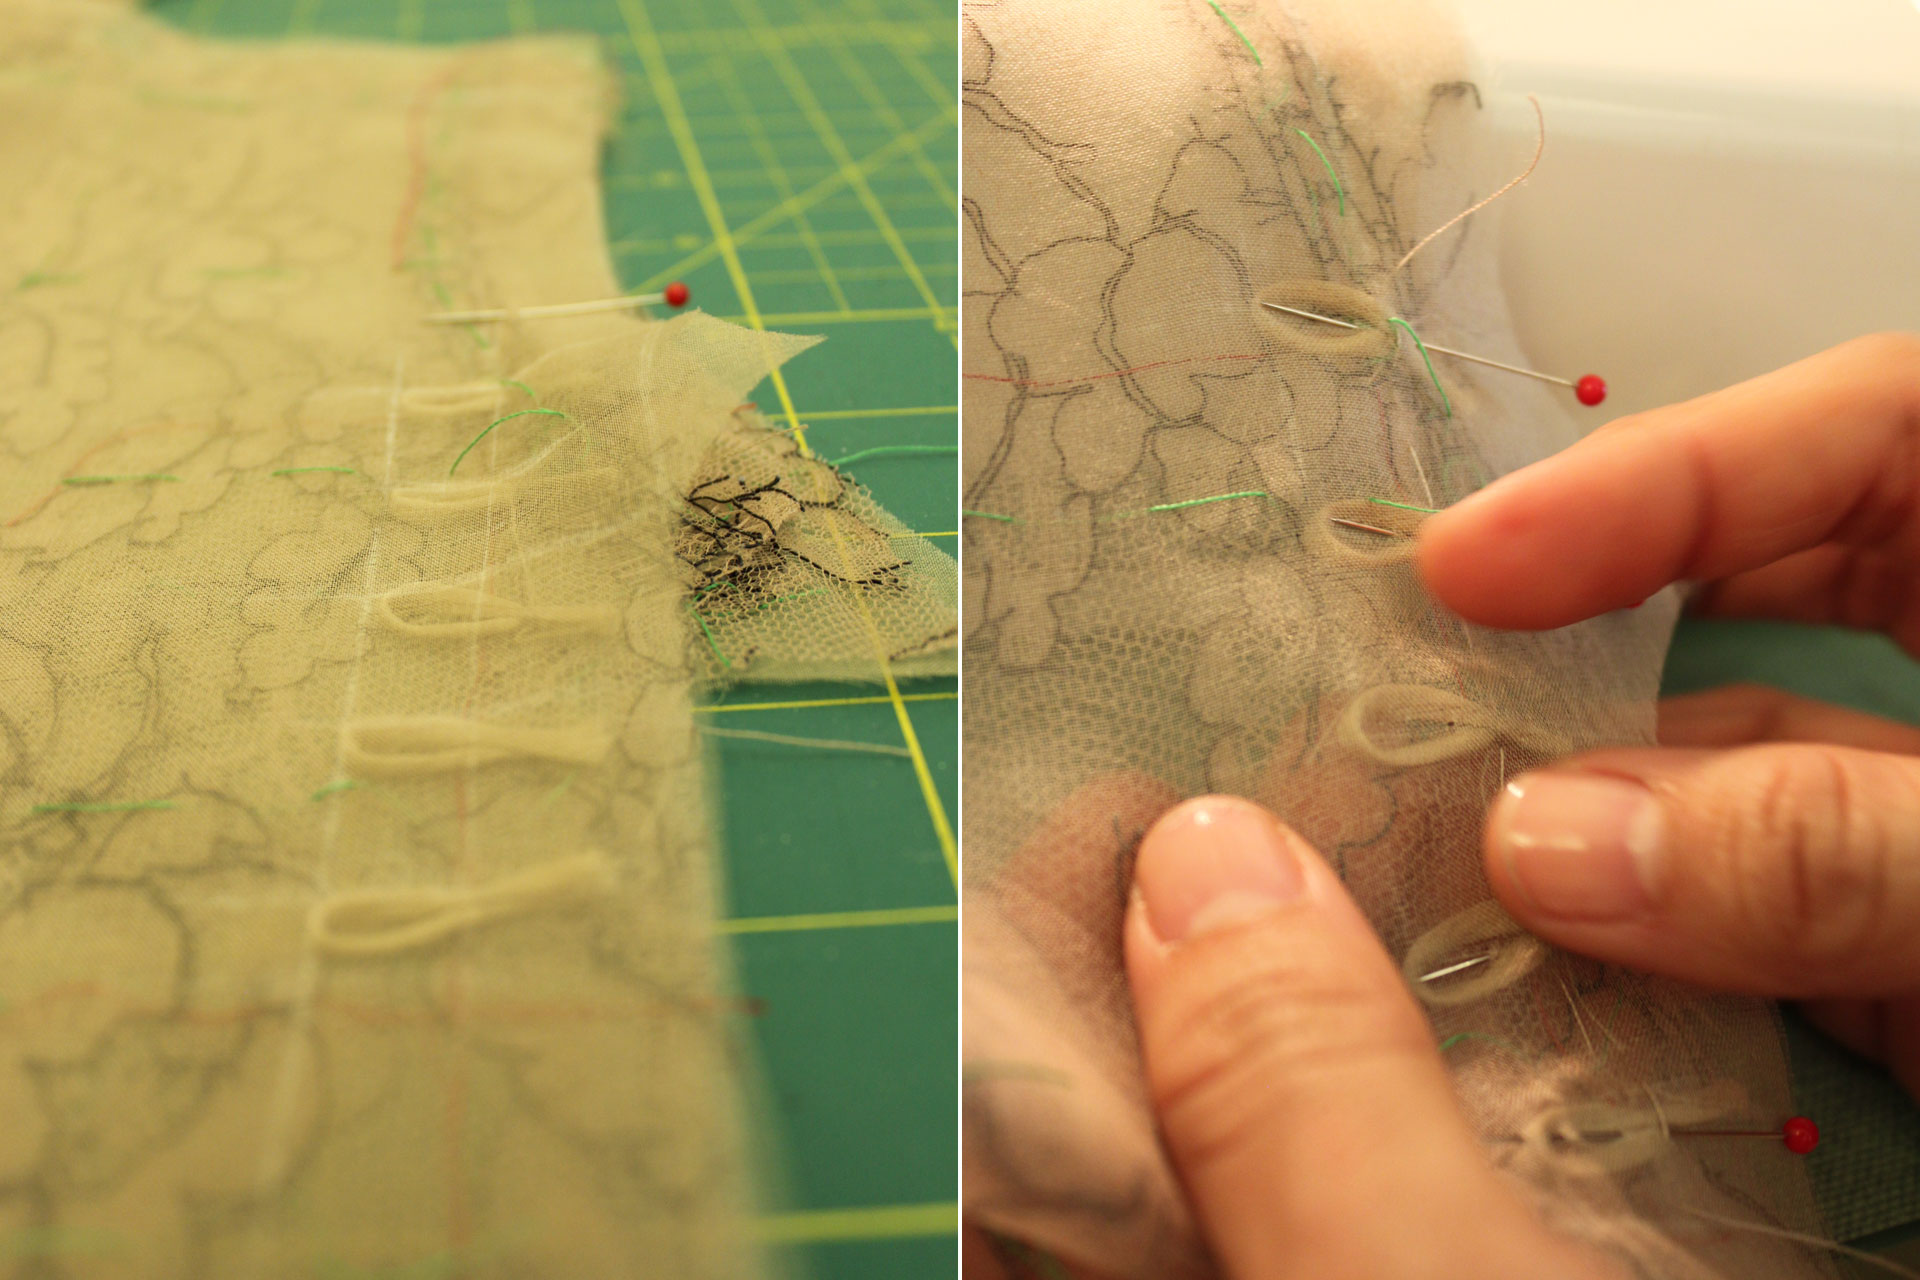
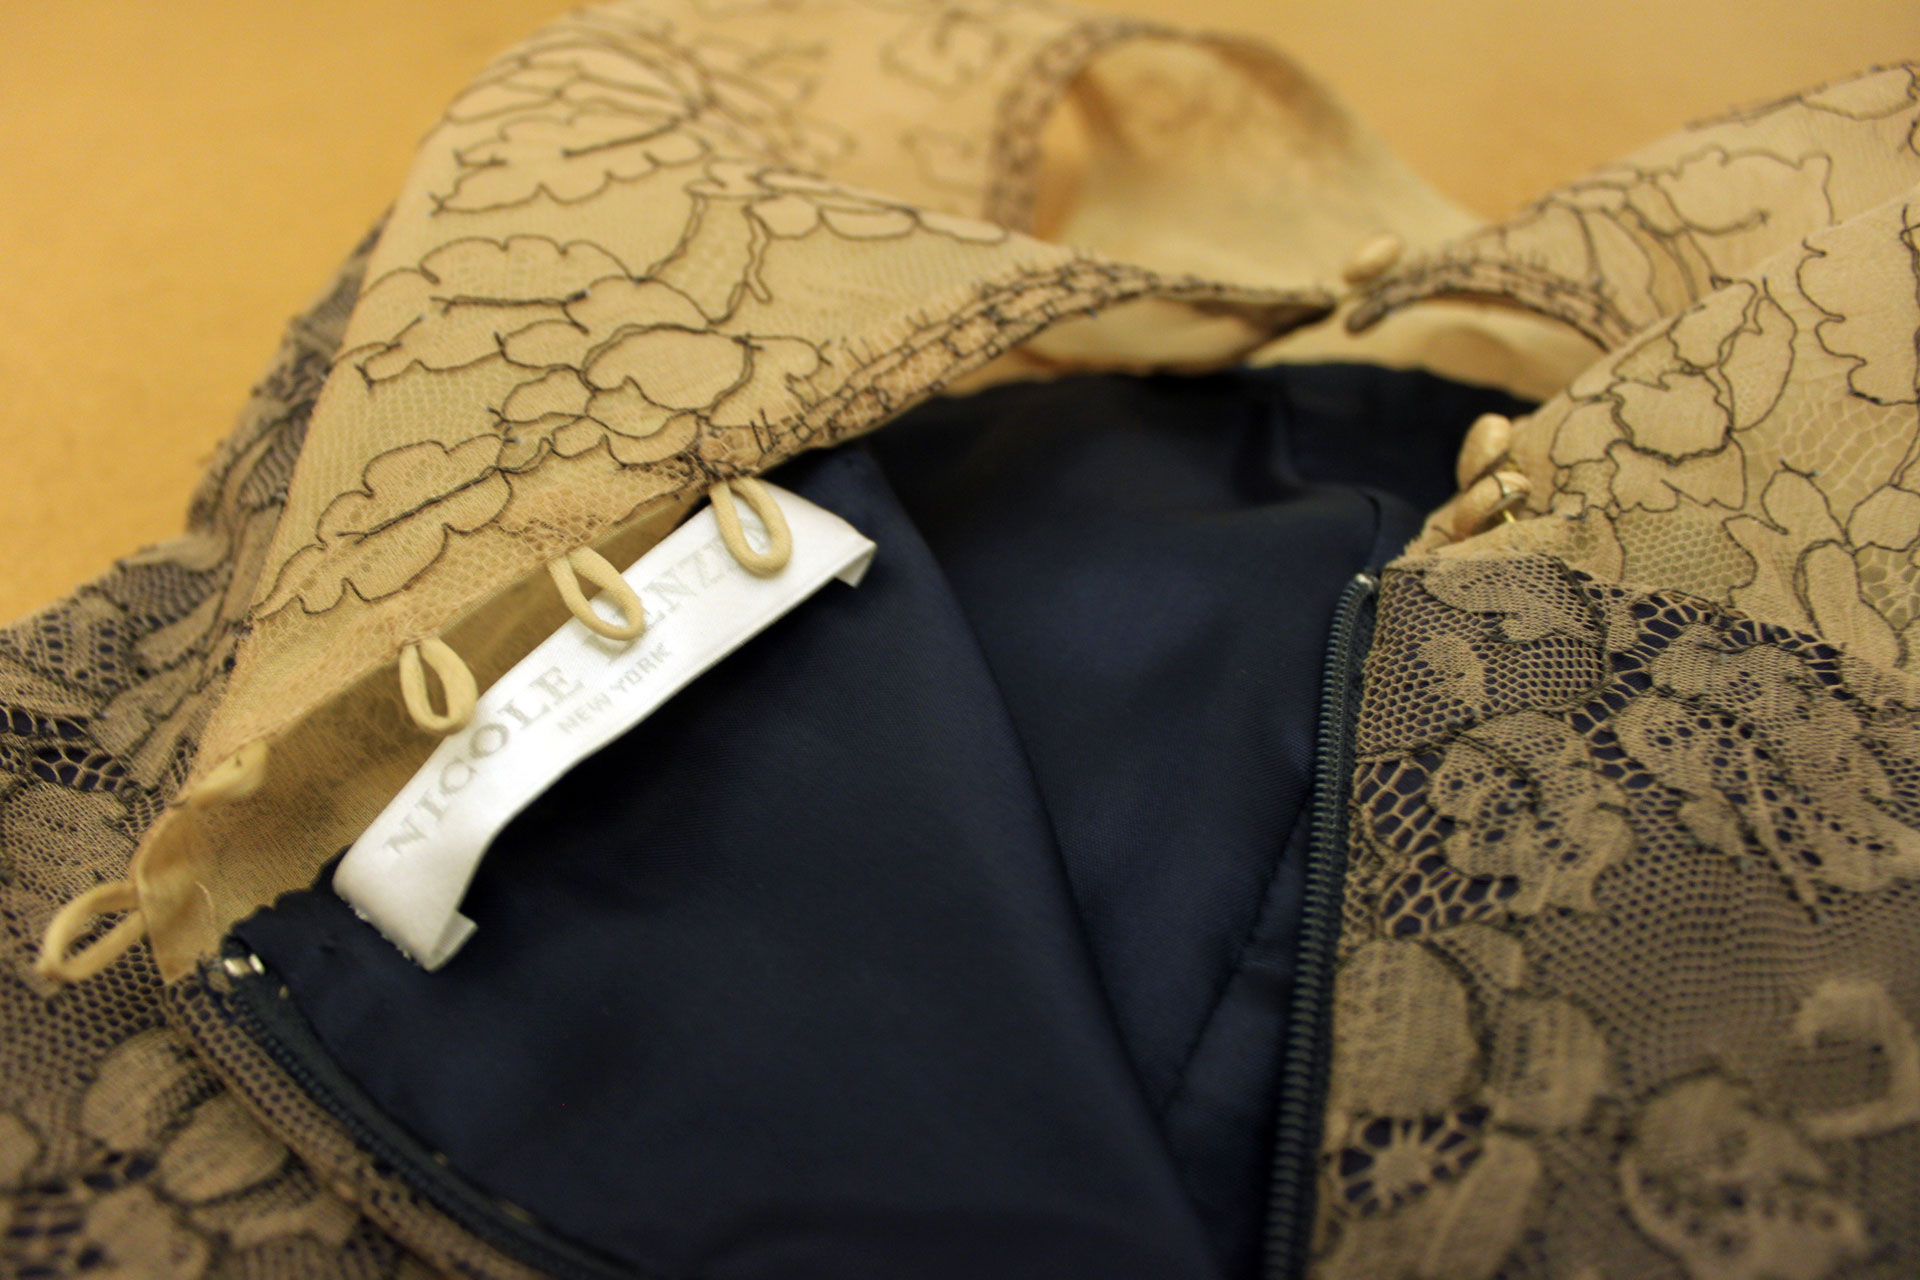
Hand-made decorative closure
The upper bodice was unattached from the rest of the dress to insert hand-made button loops, cleanly sandwiched into a seam at the center-back. The button loops were secured in place before flipping the bodice right side out. Covered buttons were made in the same lace and organza as the bodice.
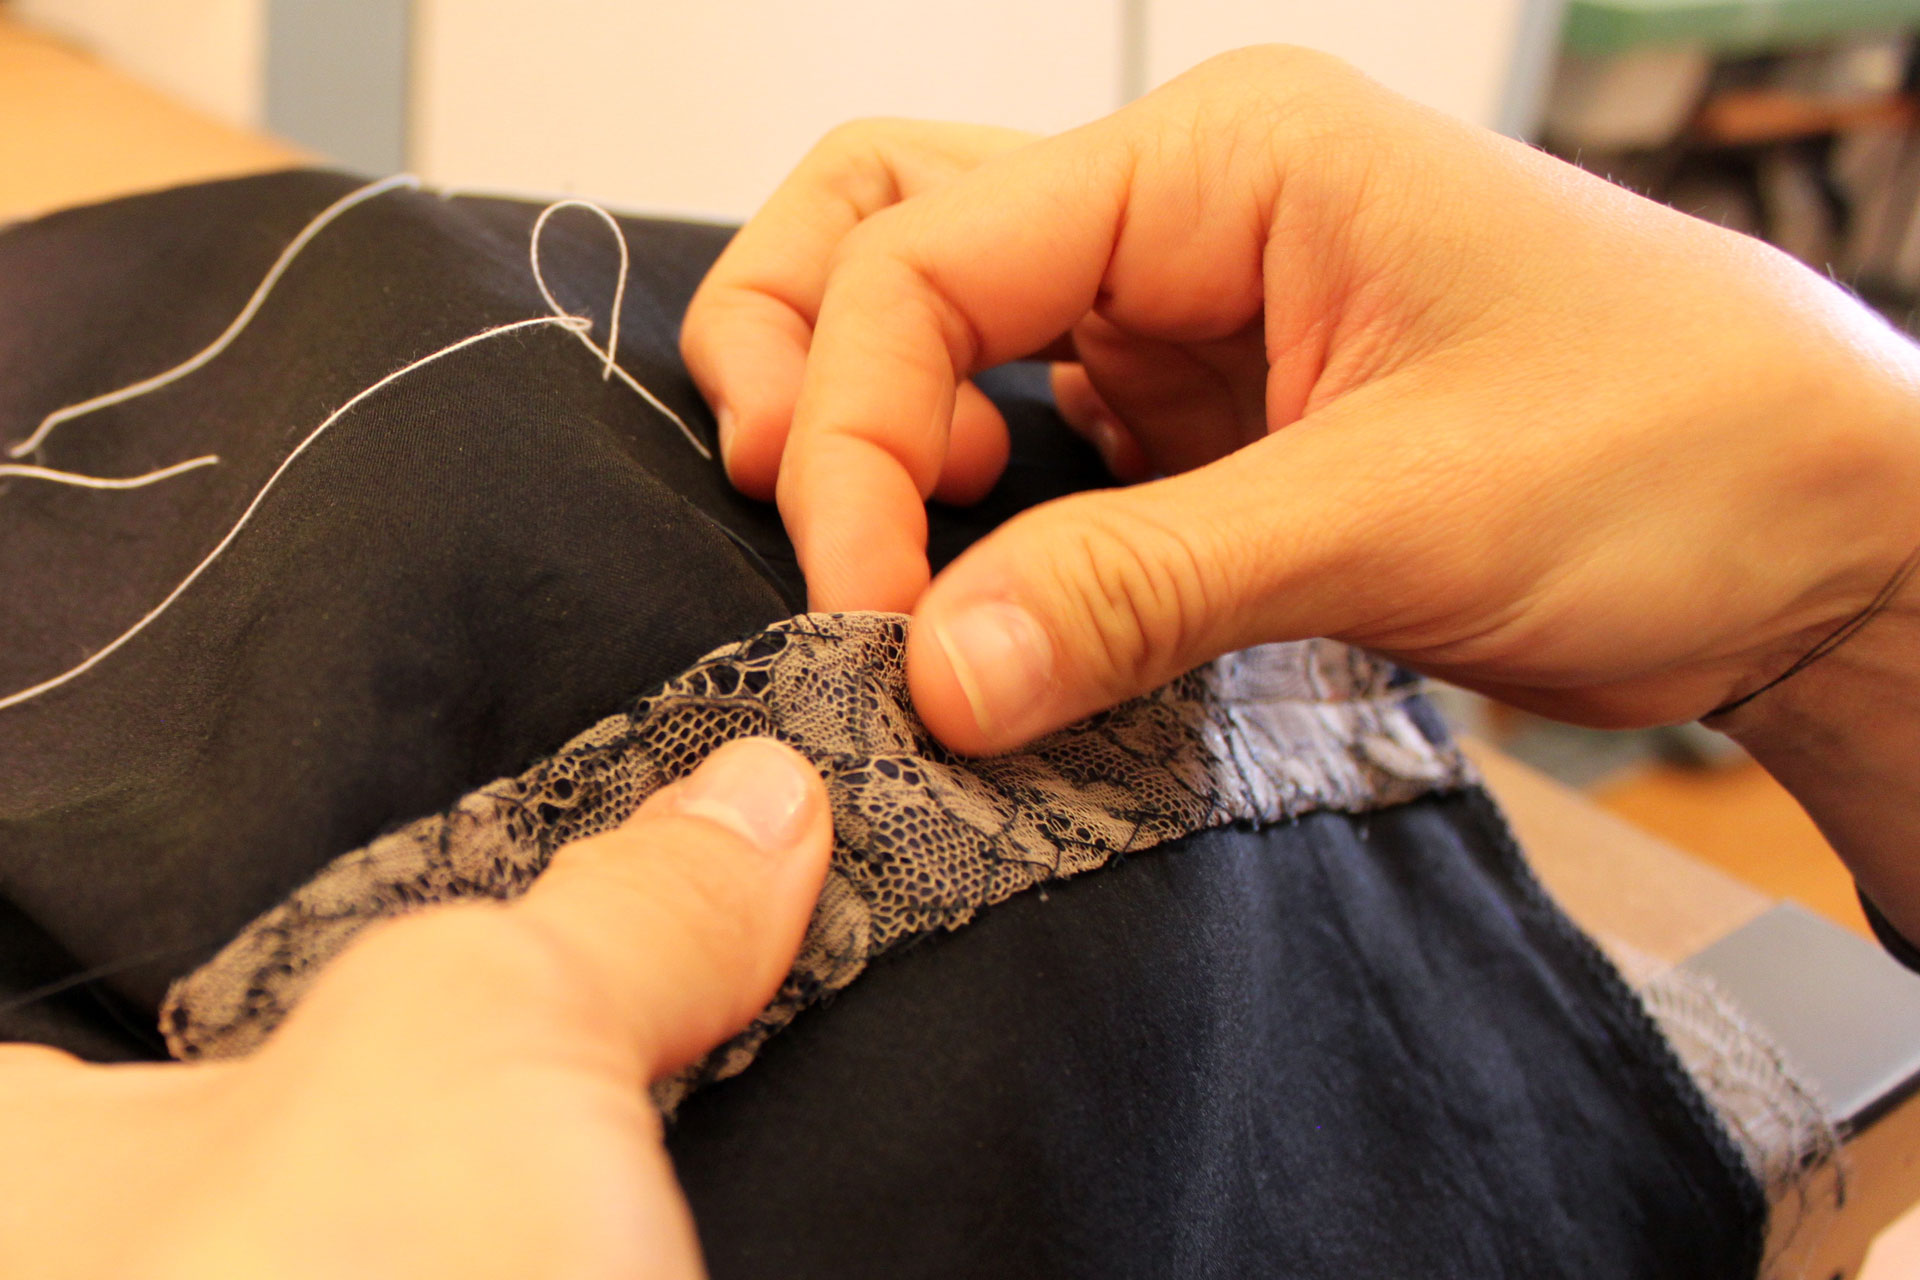
As beautiful inside as out
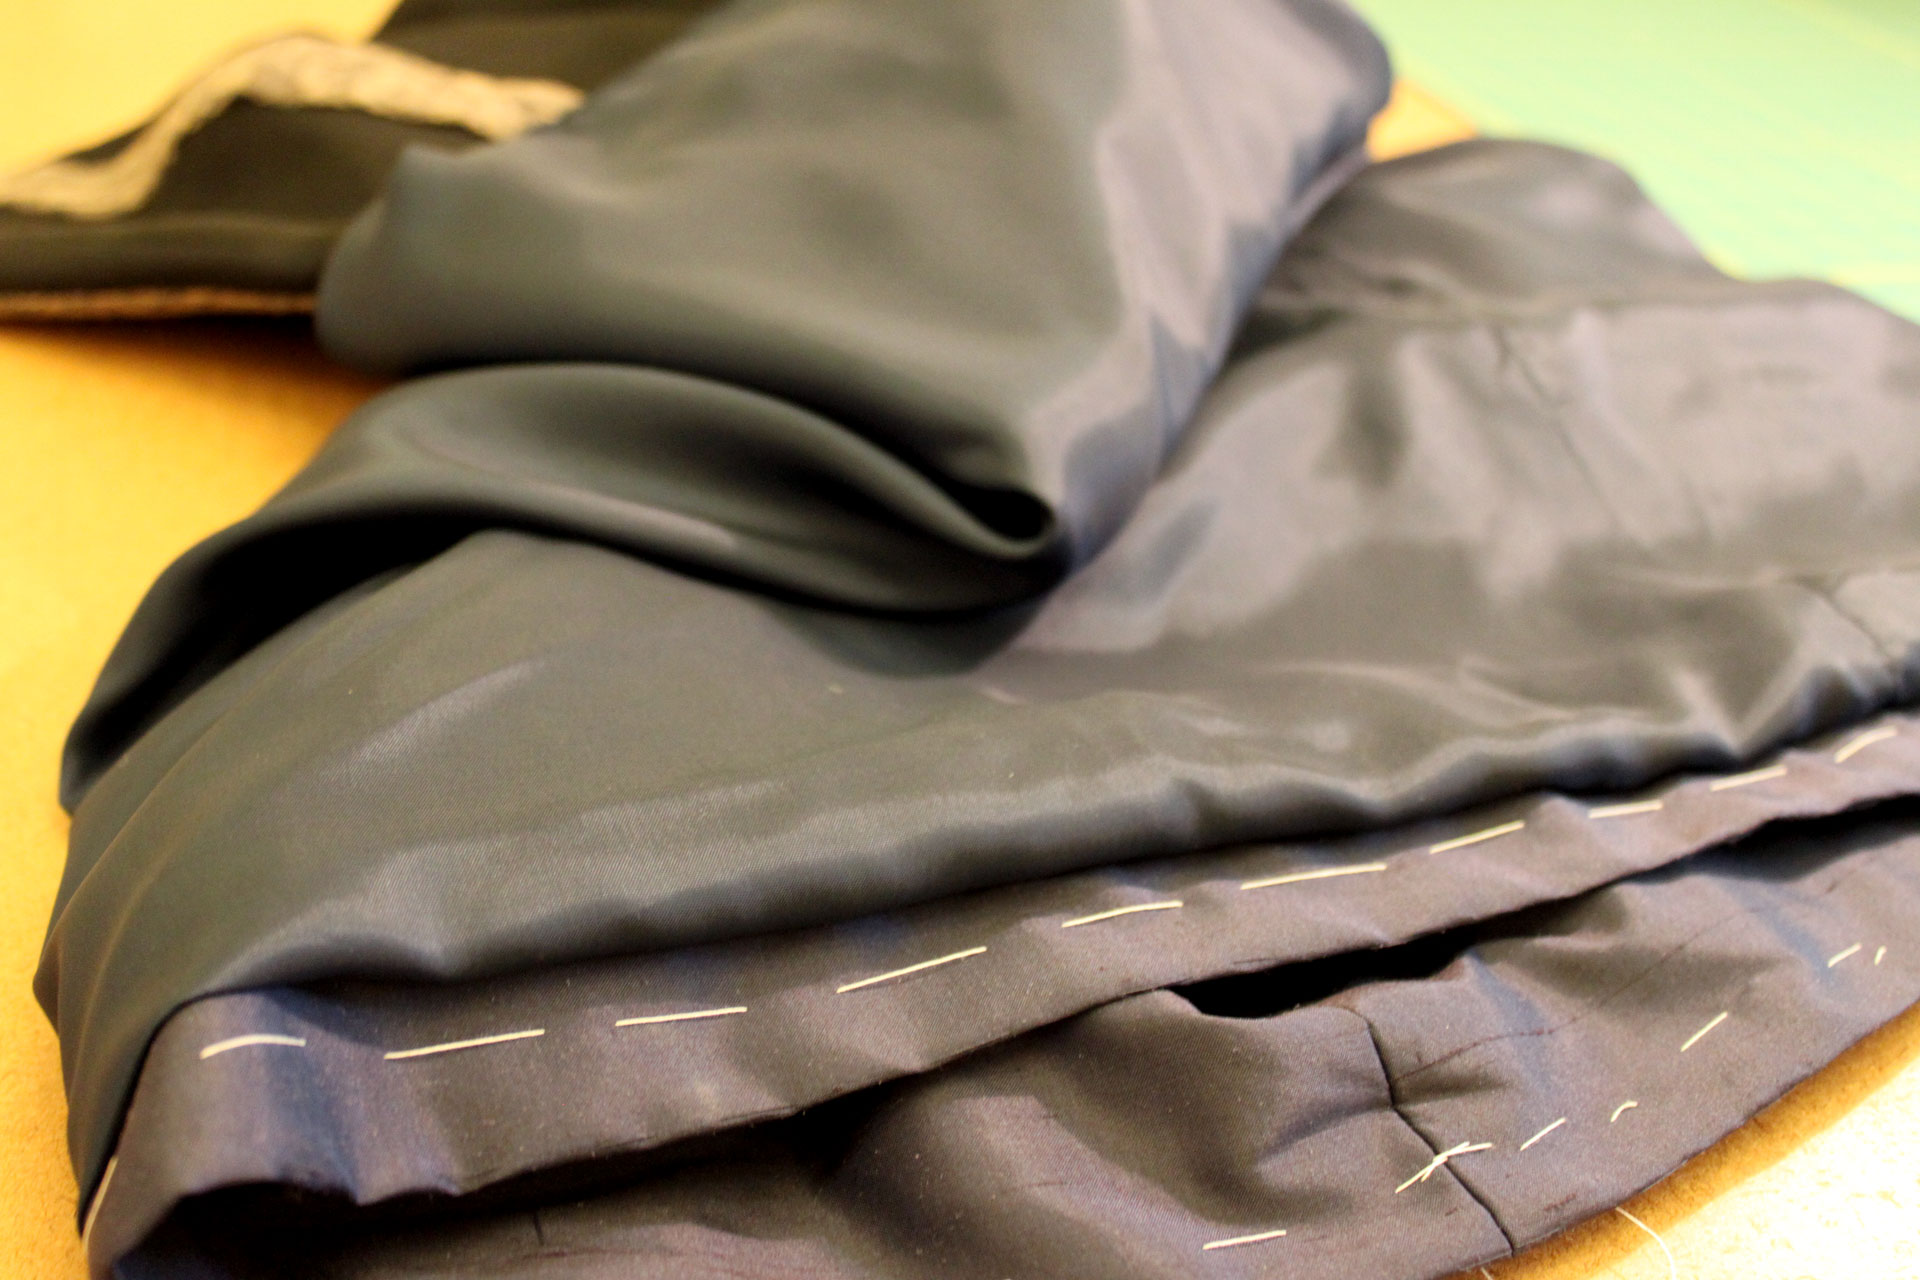
In haute couture, the interior of the garment must be finished as nicely as the exterior. The inside seam allowance was hand-sewn to secure the edges, and stitched down and out of sight from the neckline. The hem was first basted, then hand-secured to anchor the lining "jump." Due to the unstable nature of lace and organza, all layers were hand-basted together to avoid shifting when attached to the rest of the bodice.
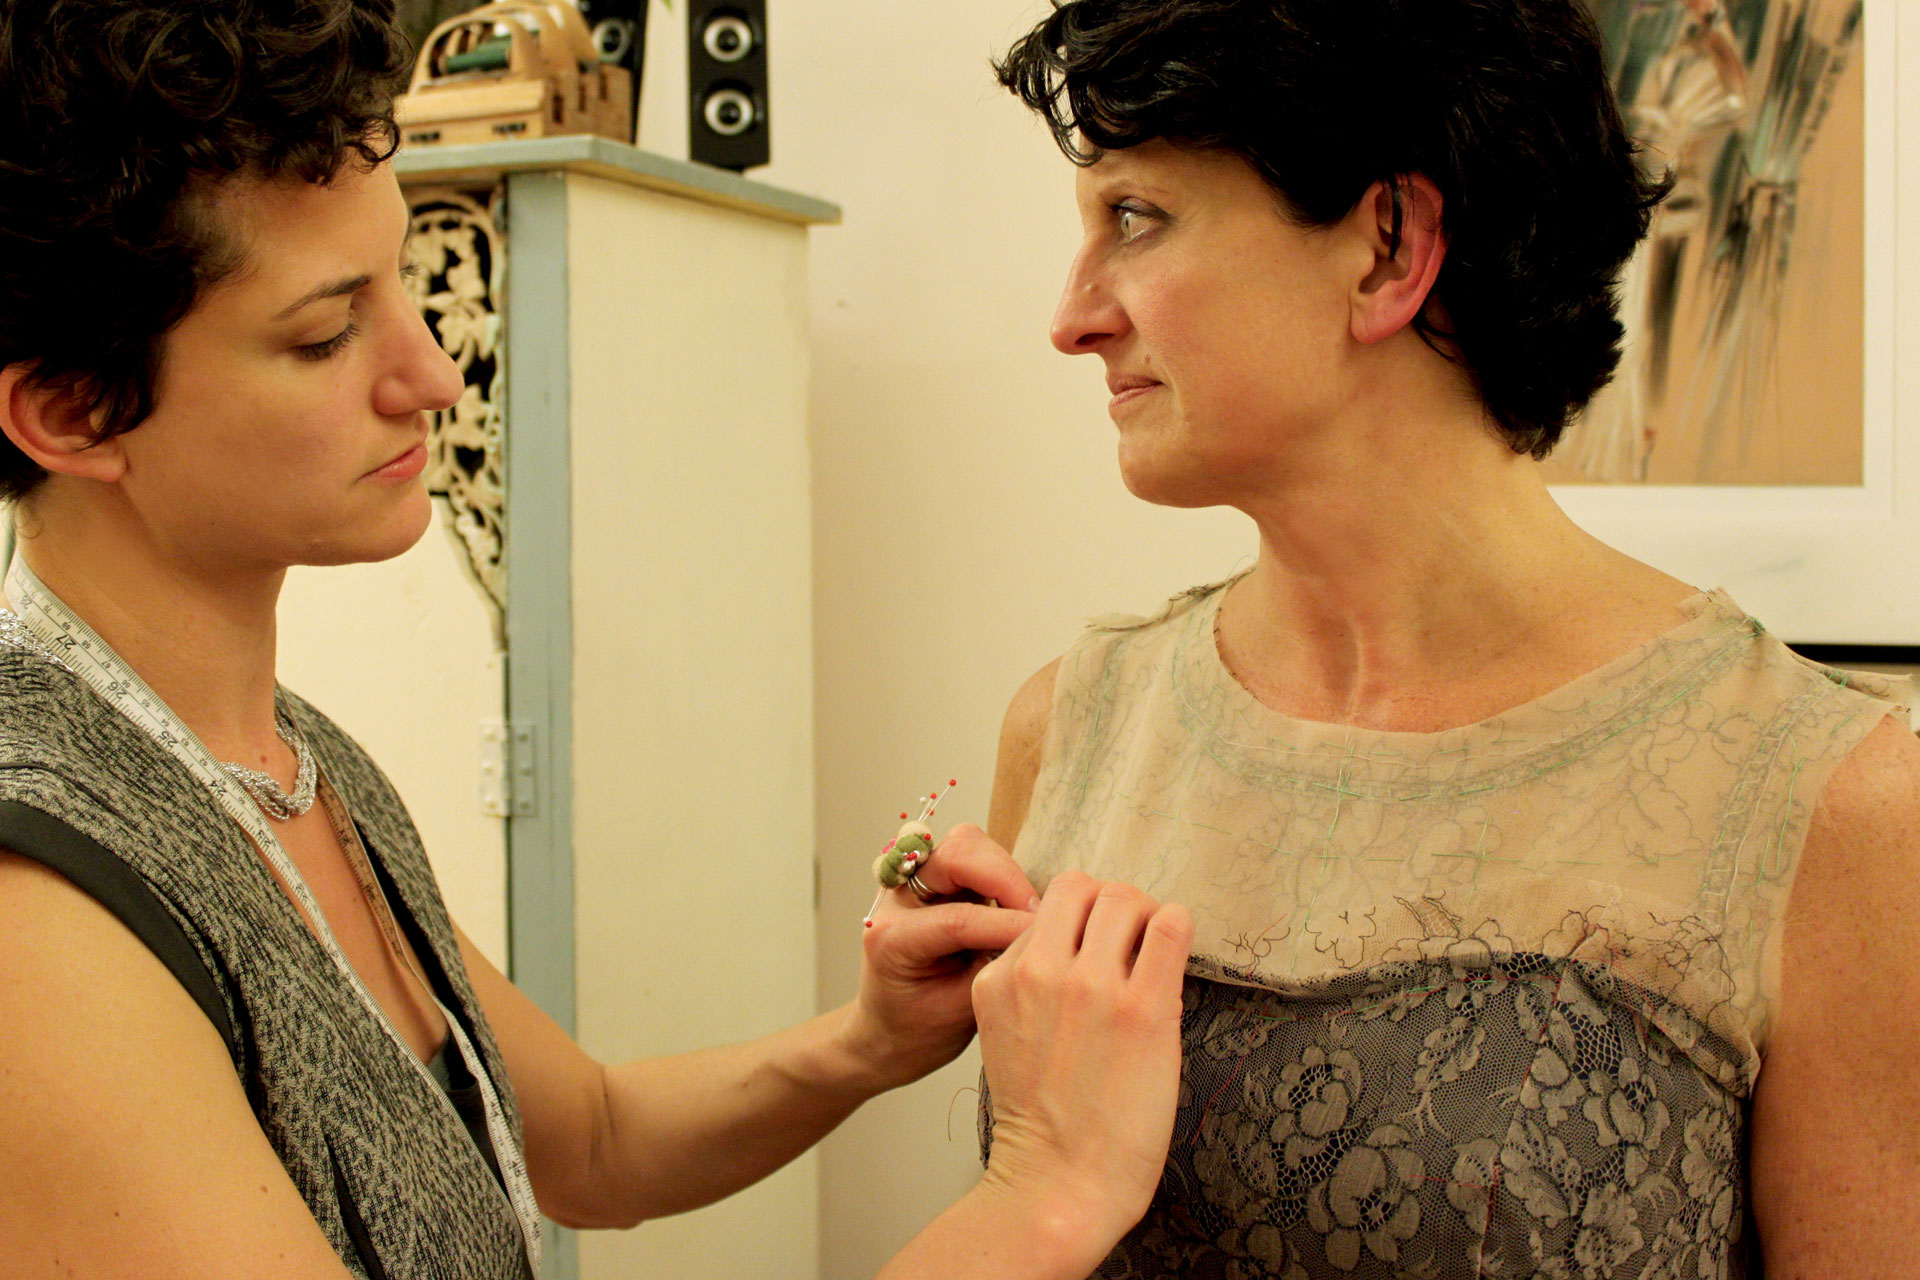
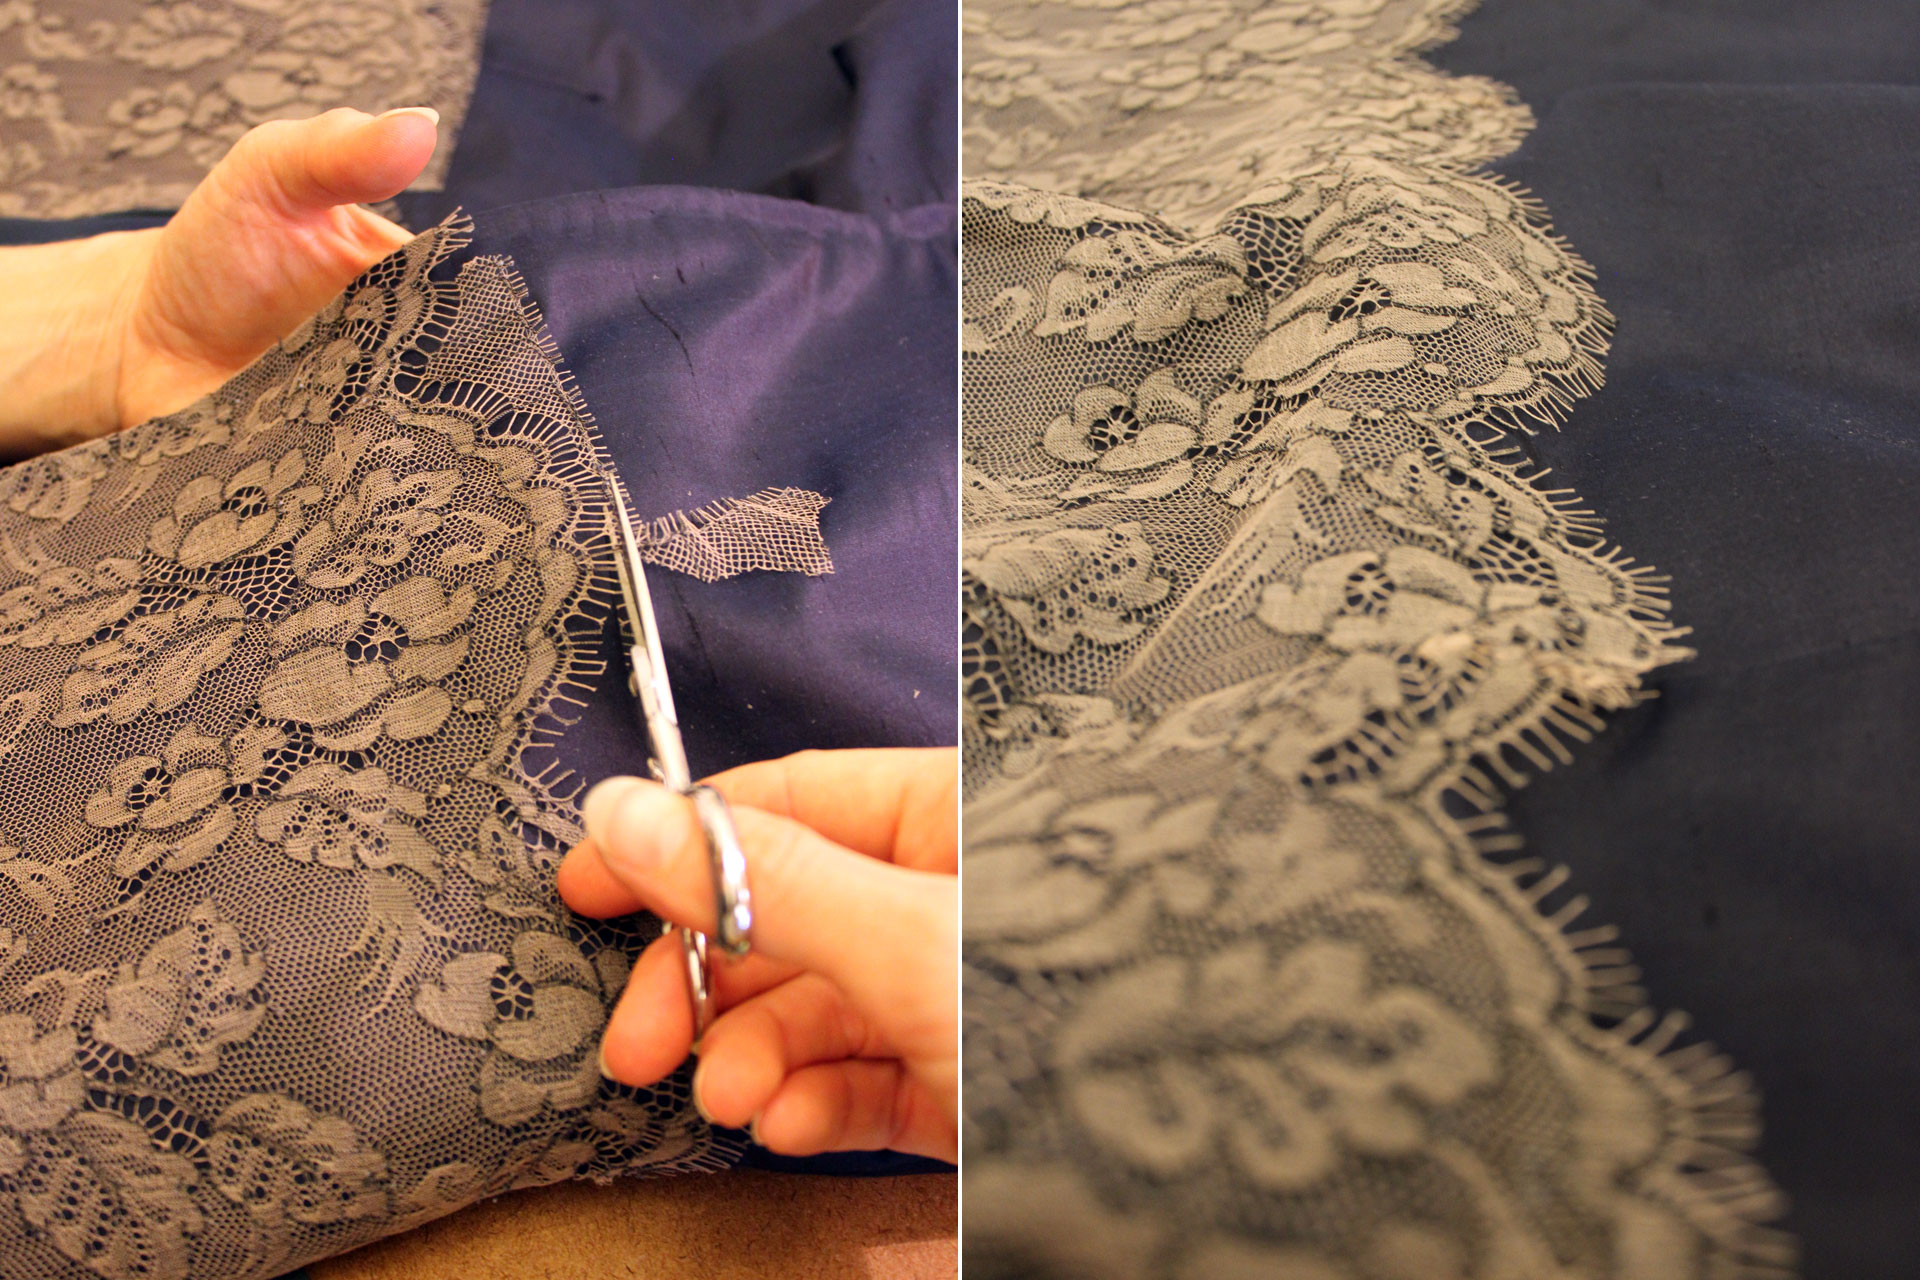
Et voilà!
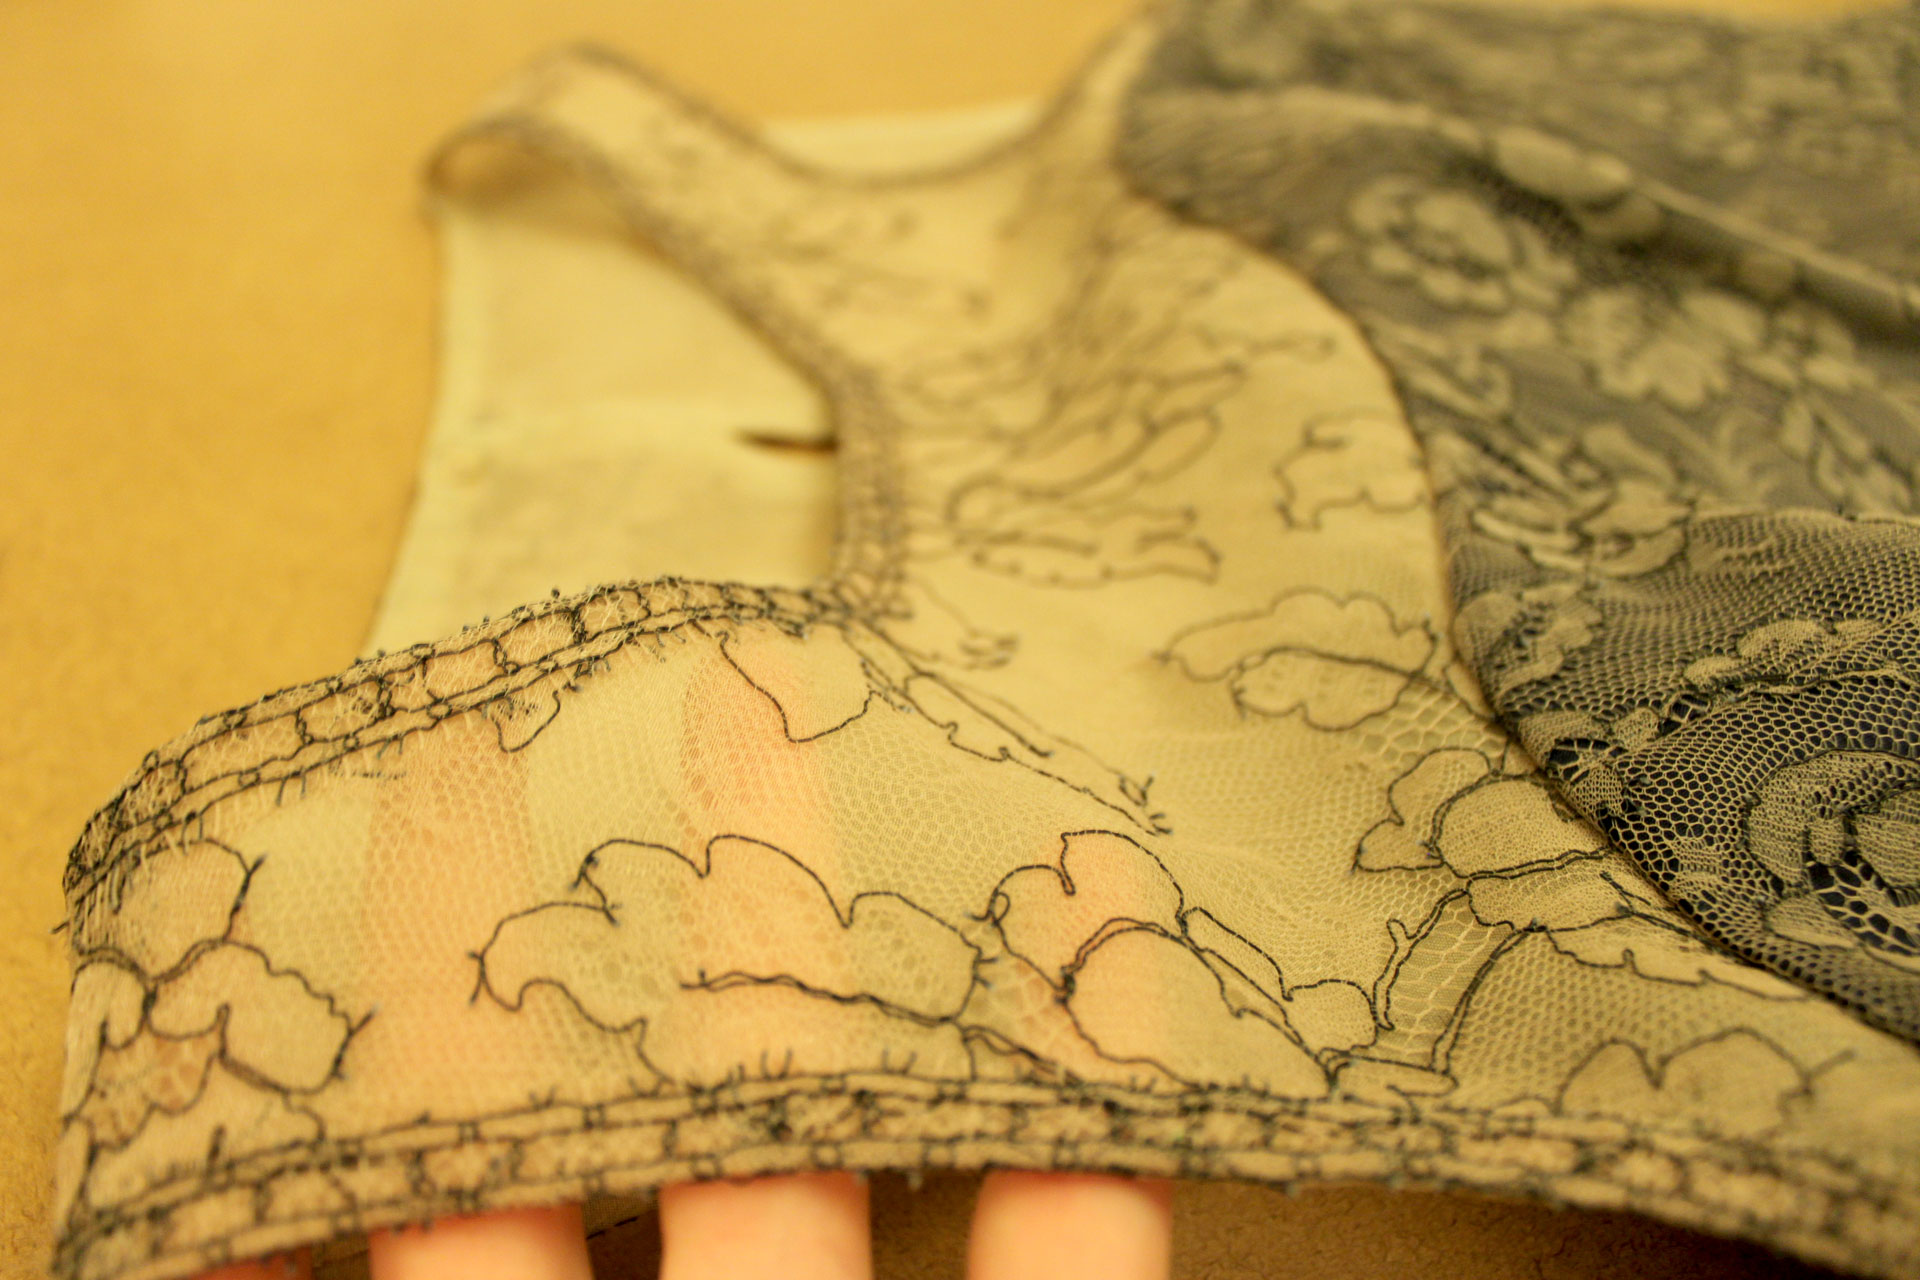
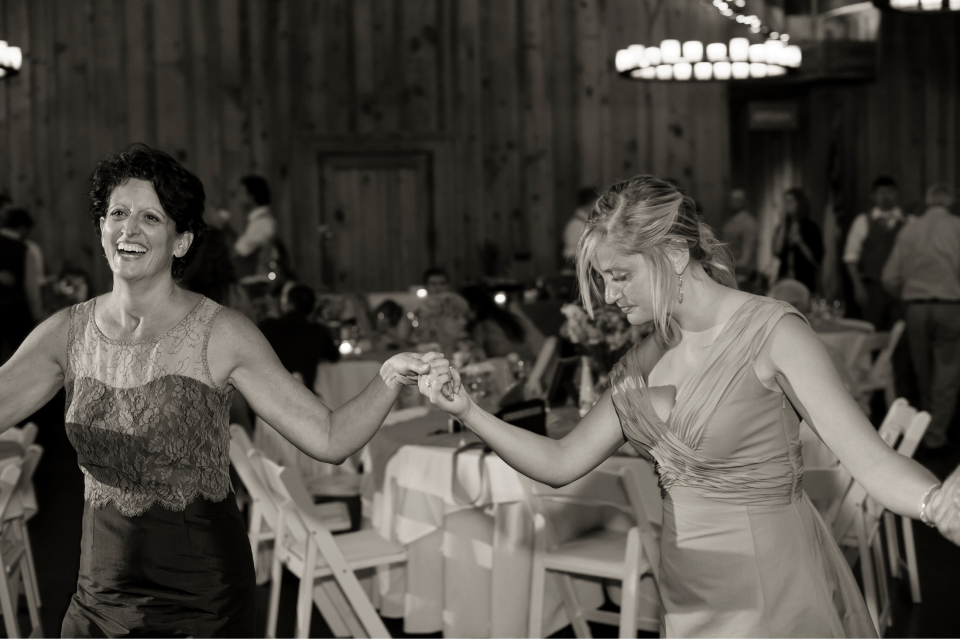
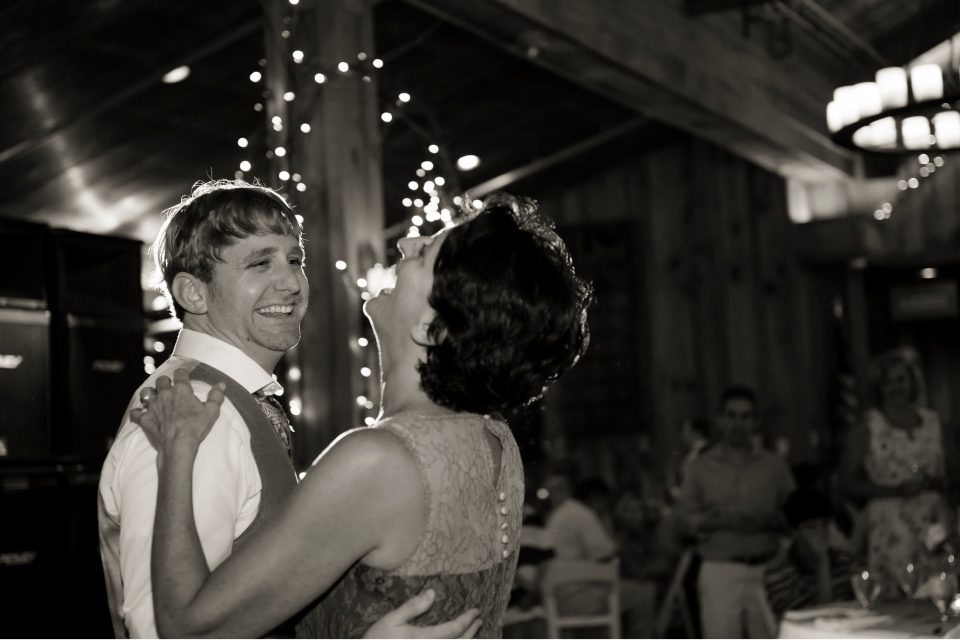
As the pieces started coming together, we could gradually remove the hand-basting stitches. The delicate scallop edge, a signature feature of fine lace, was carefully clipped. We print-engineered the scallops to be a continuous edge even where the lace met at the seams, hand-stitching and clipping away the seam allowance to allow for no visual line break. Last touch of course was the designer label, and a good pressing! The dress fit perfectly, and Carol was an absolutely stunning mother of the groom.

When you are in your mid-fifties the most daunting task is to find a flattering Mother of the Groom dress that you truly love. I am so grateful that I was provided the opportunity to have a custom dress made for my son's wedding.
Think how wonderful it is to be able to choose the perfect color fabric to best suit the occasion and my complexion, the most beautiful lace from France, and the style of dress and cut that flatters as well as harmonizes with my personal taste for a perfect fit!
All of the combined elements went into making this dress, but Nicole took those elements and made a work of art.
- Carol, Custom Couture Client
More in fashion


Join Nicole's semi-monthly newsletter with coaching insights & resources to navigate career, leadership, and working parenthood transitions.